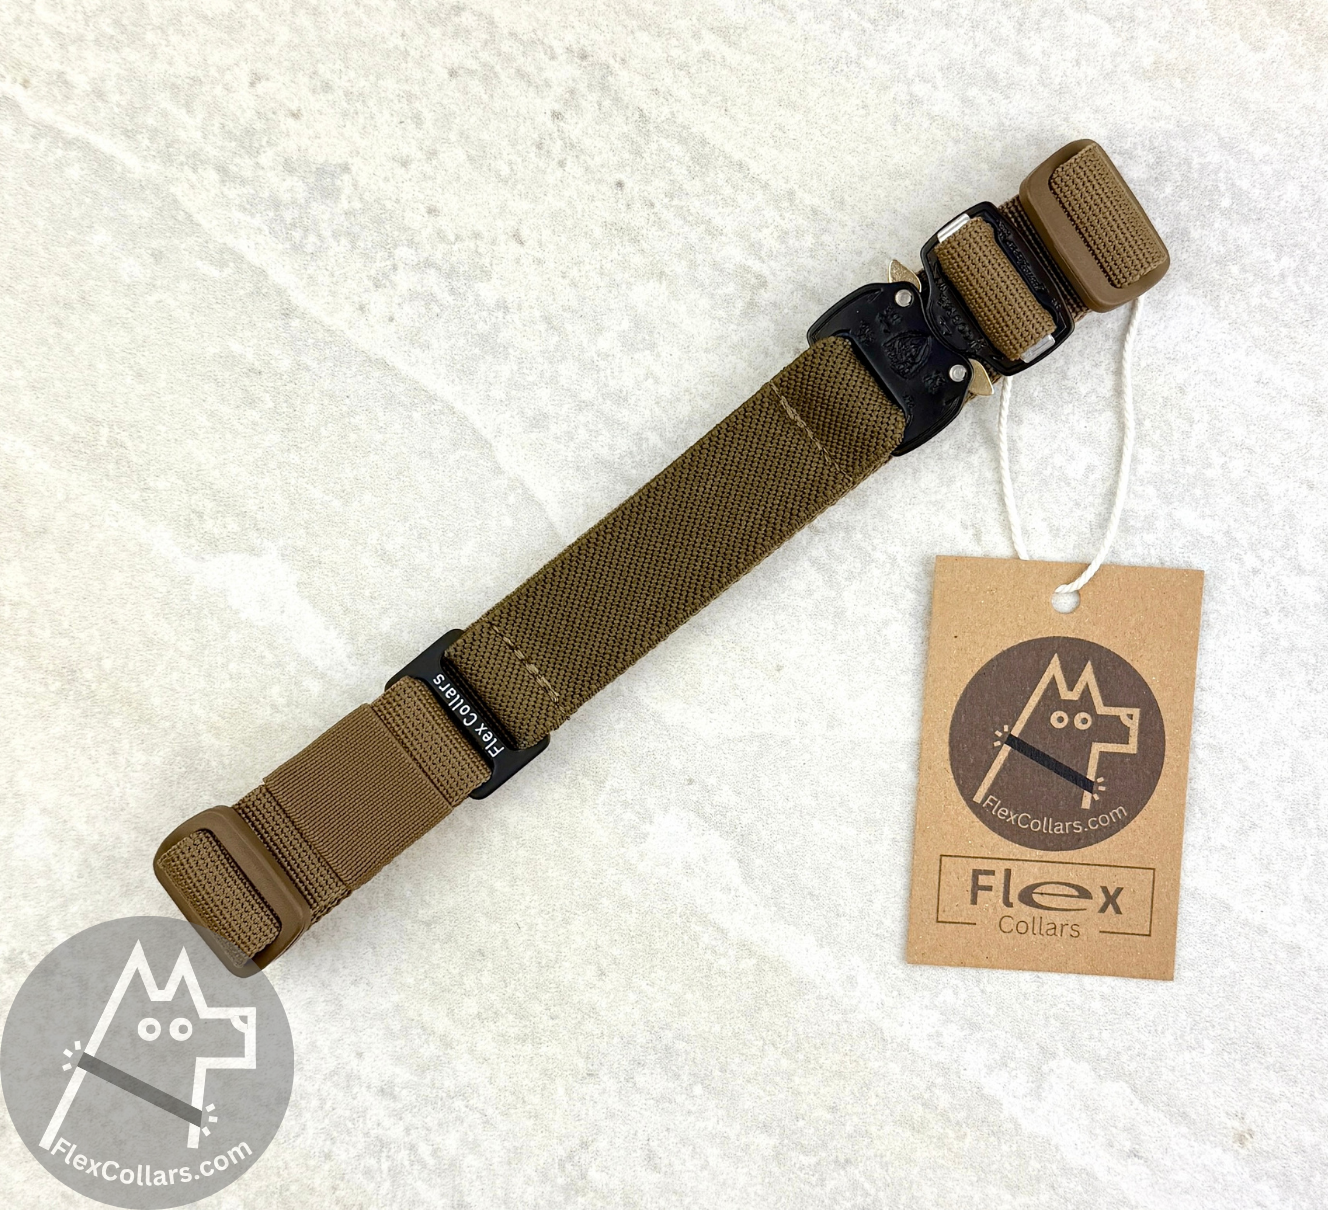


Materials and Care:
1) Main webbing is made of 100% nylon.
2) Hand wash only in lukewarm water with mild detergent.
Do not machine wash or tumble dry.
Air dry flat away from direct heat or sunlight.
FITTING GUIDE
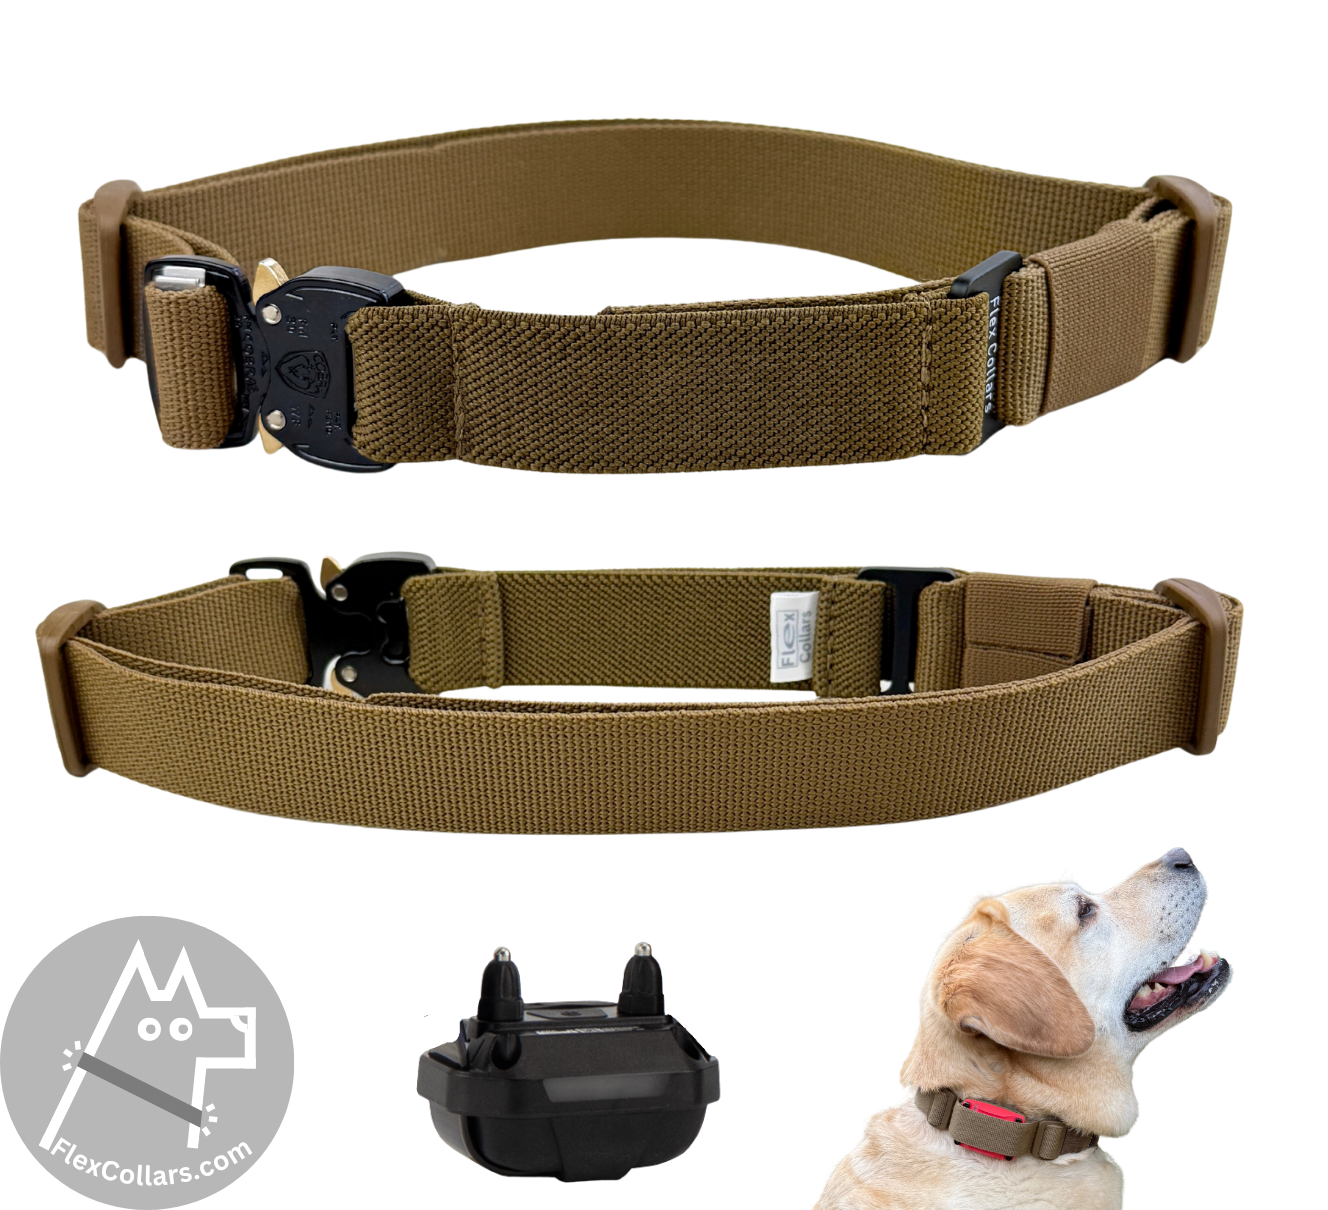
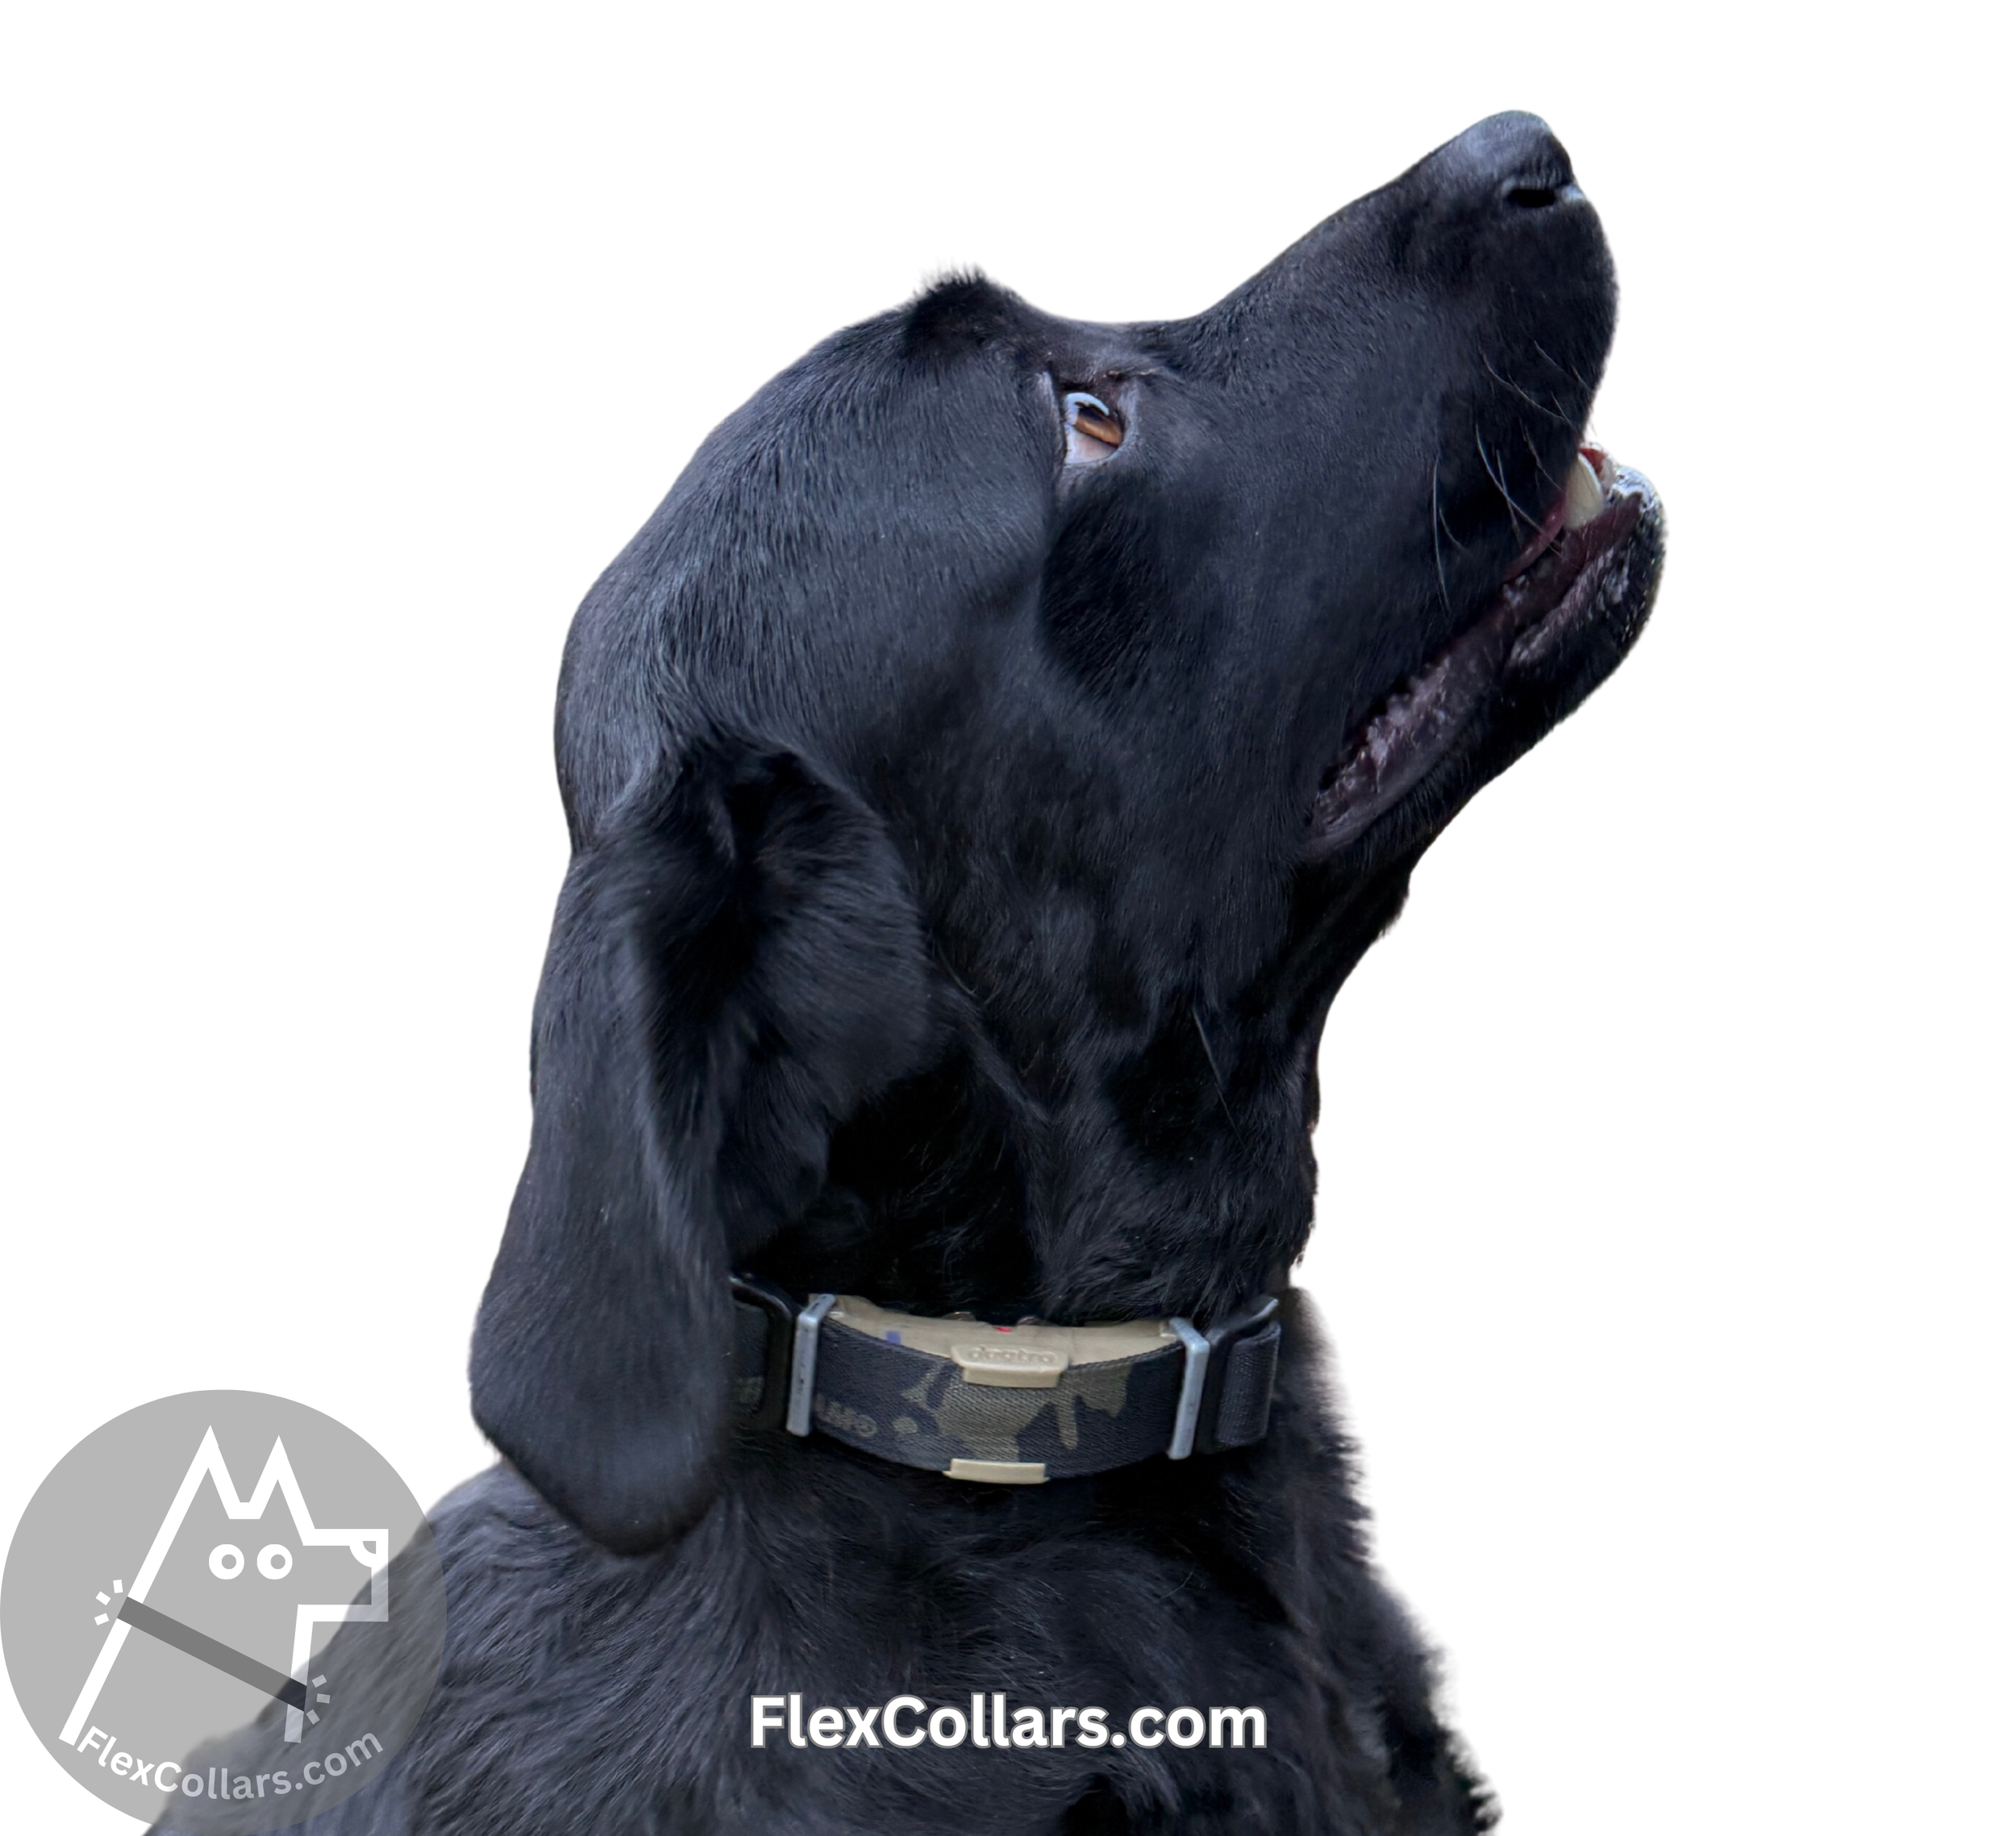
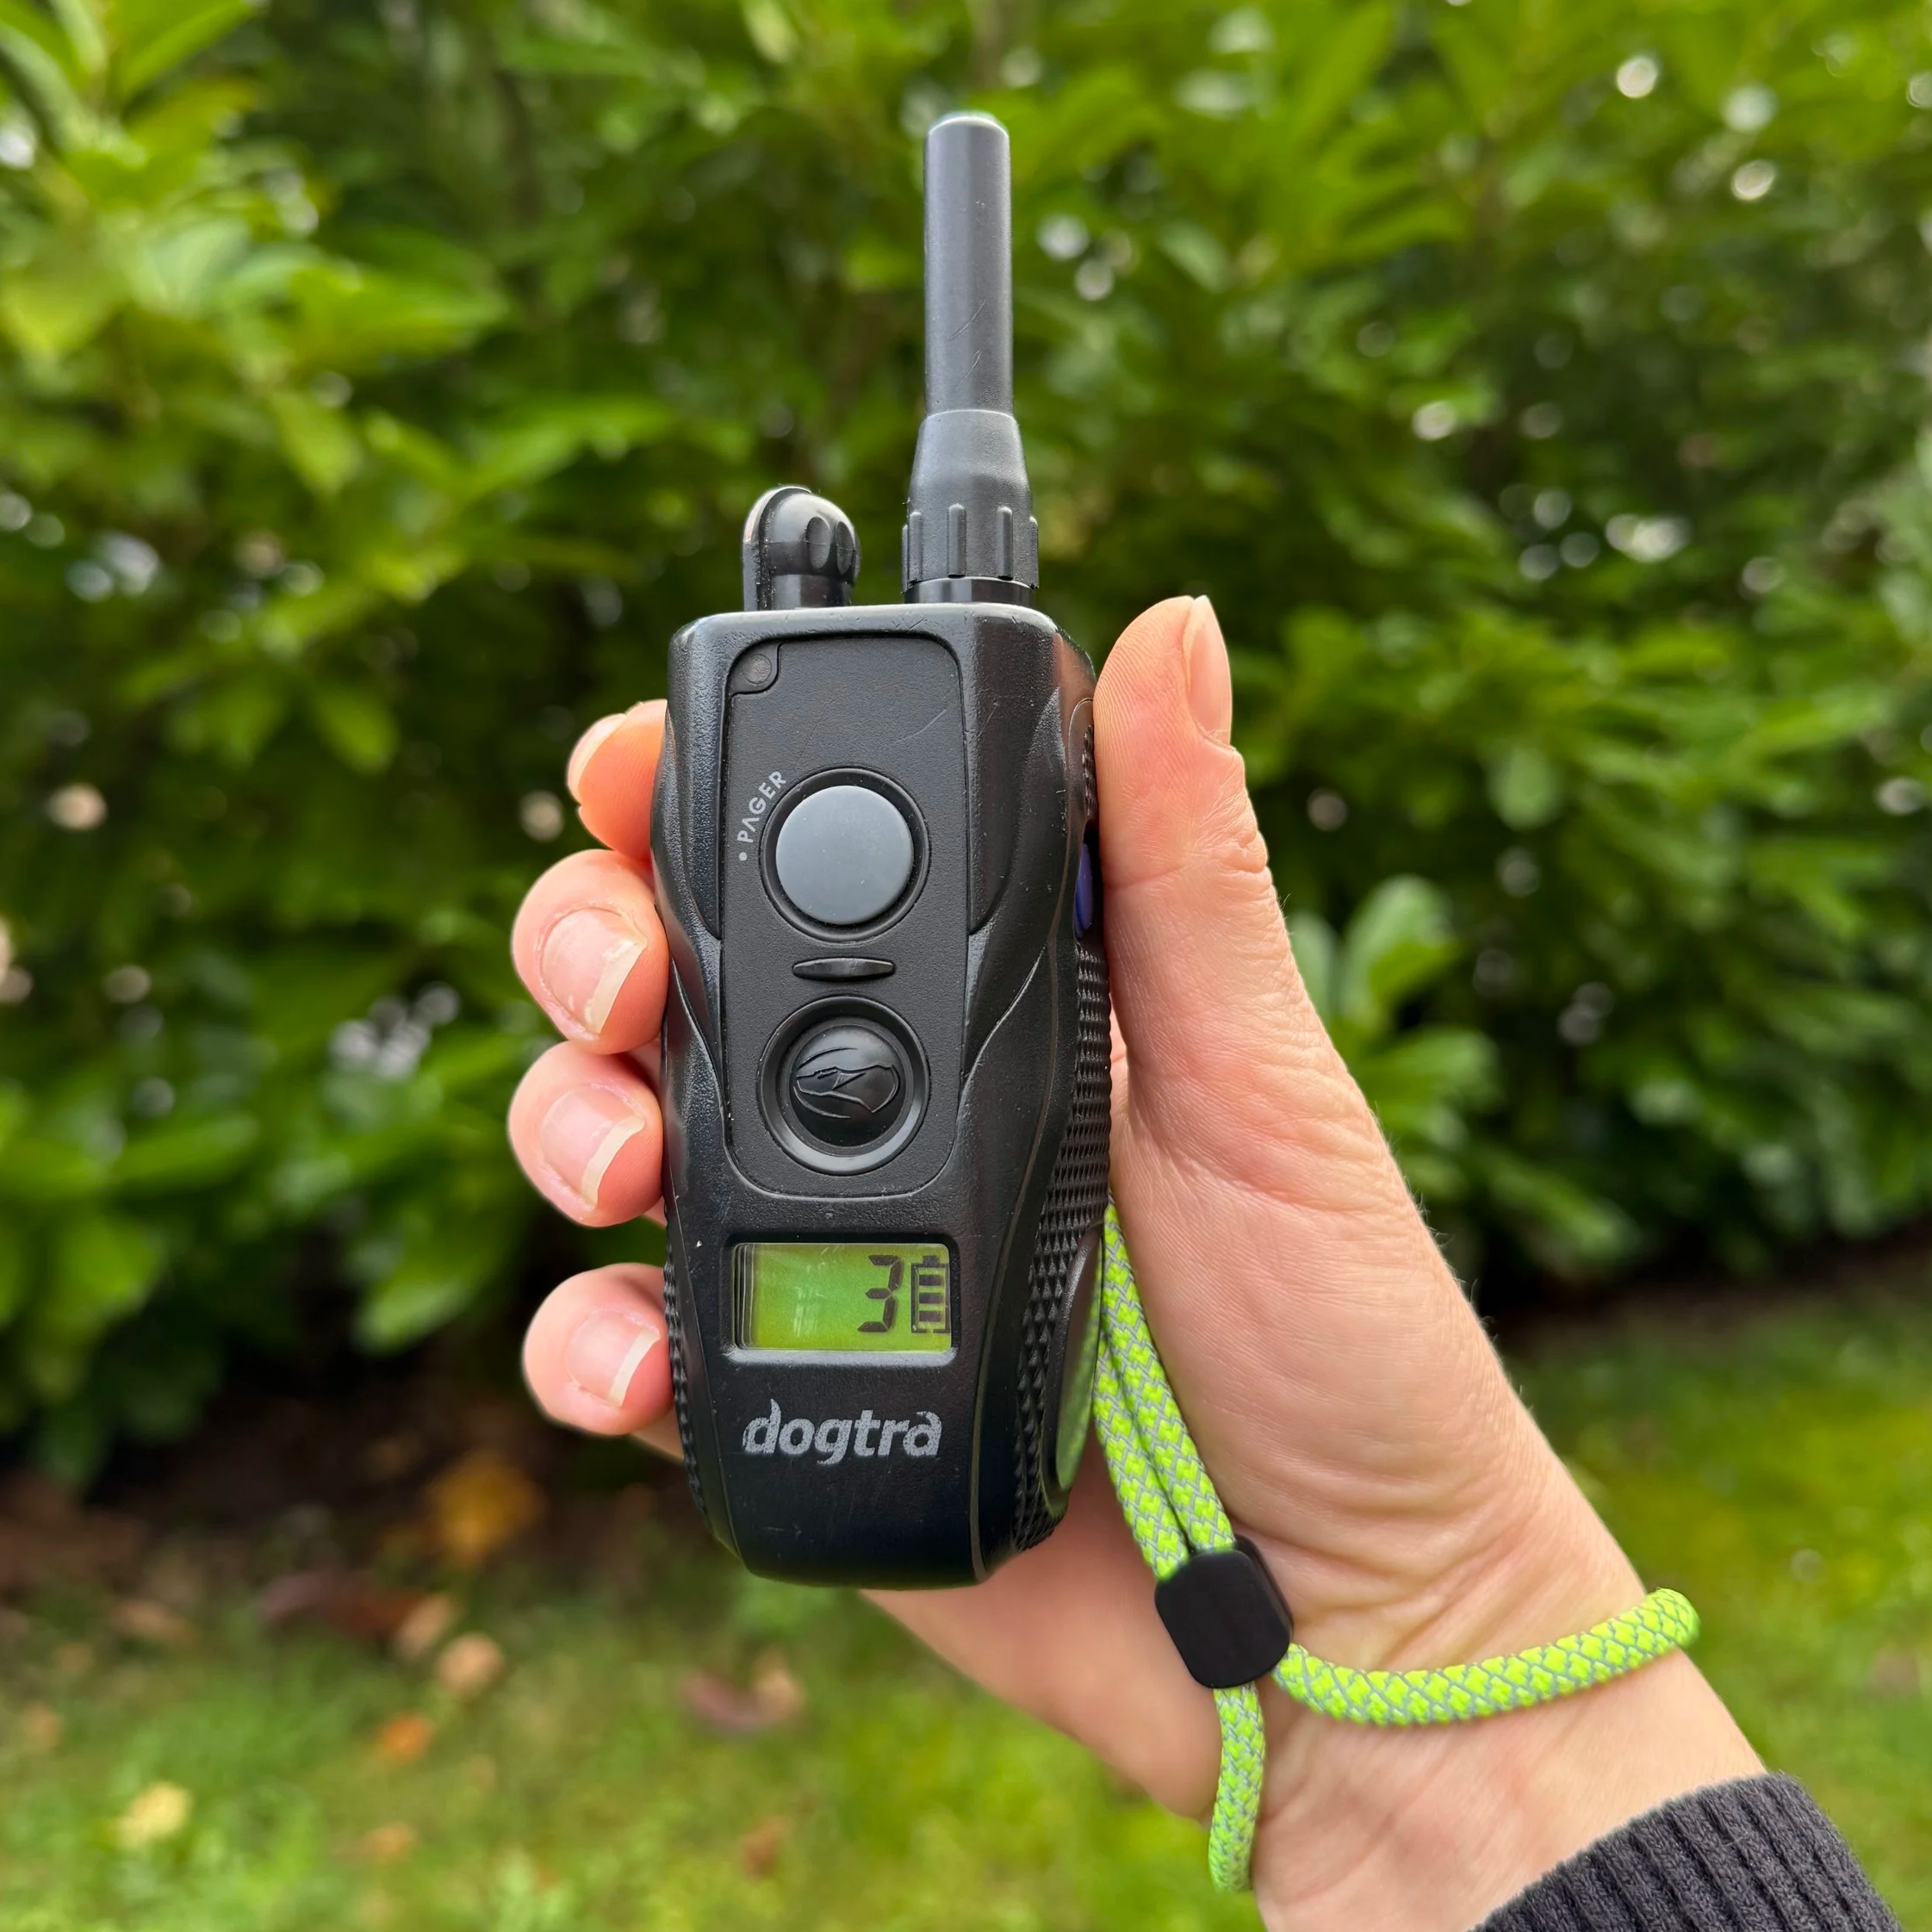
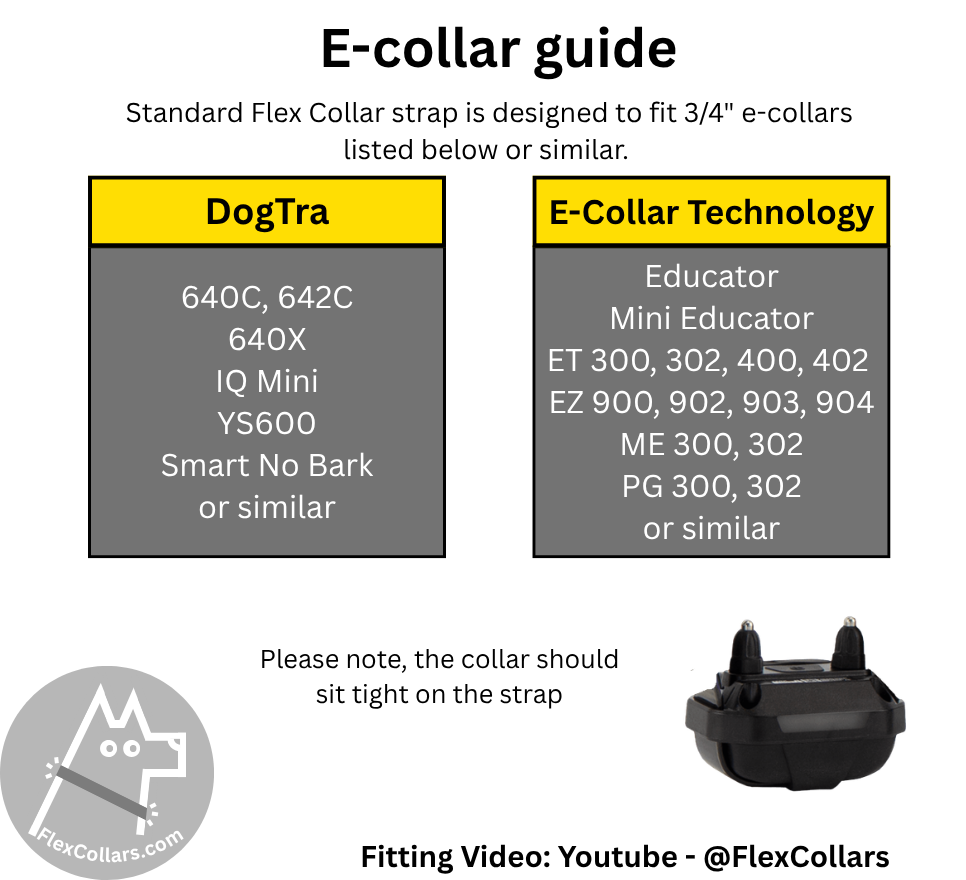
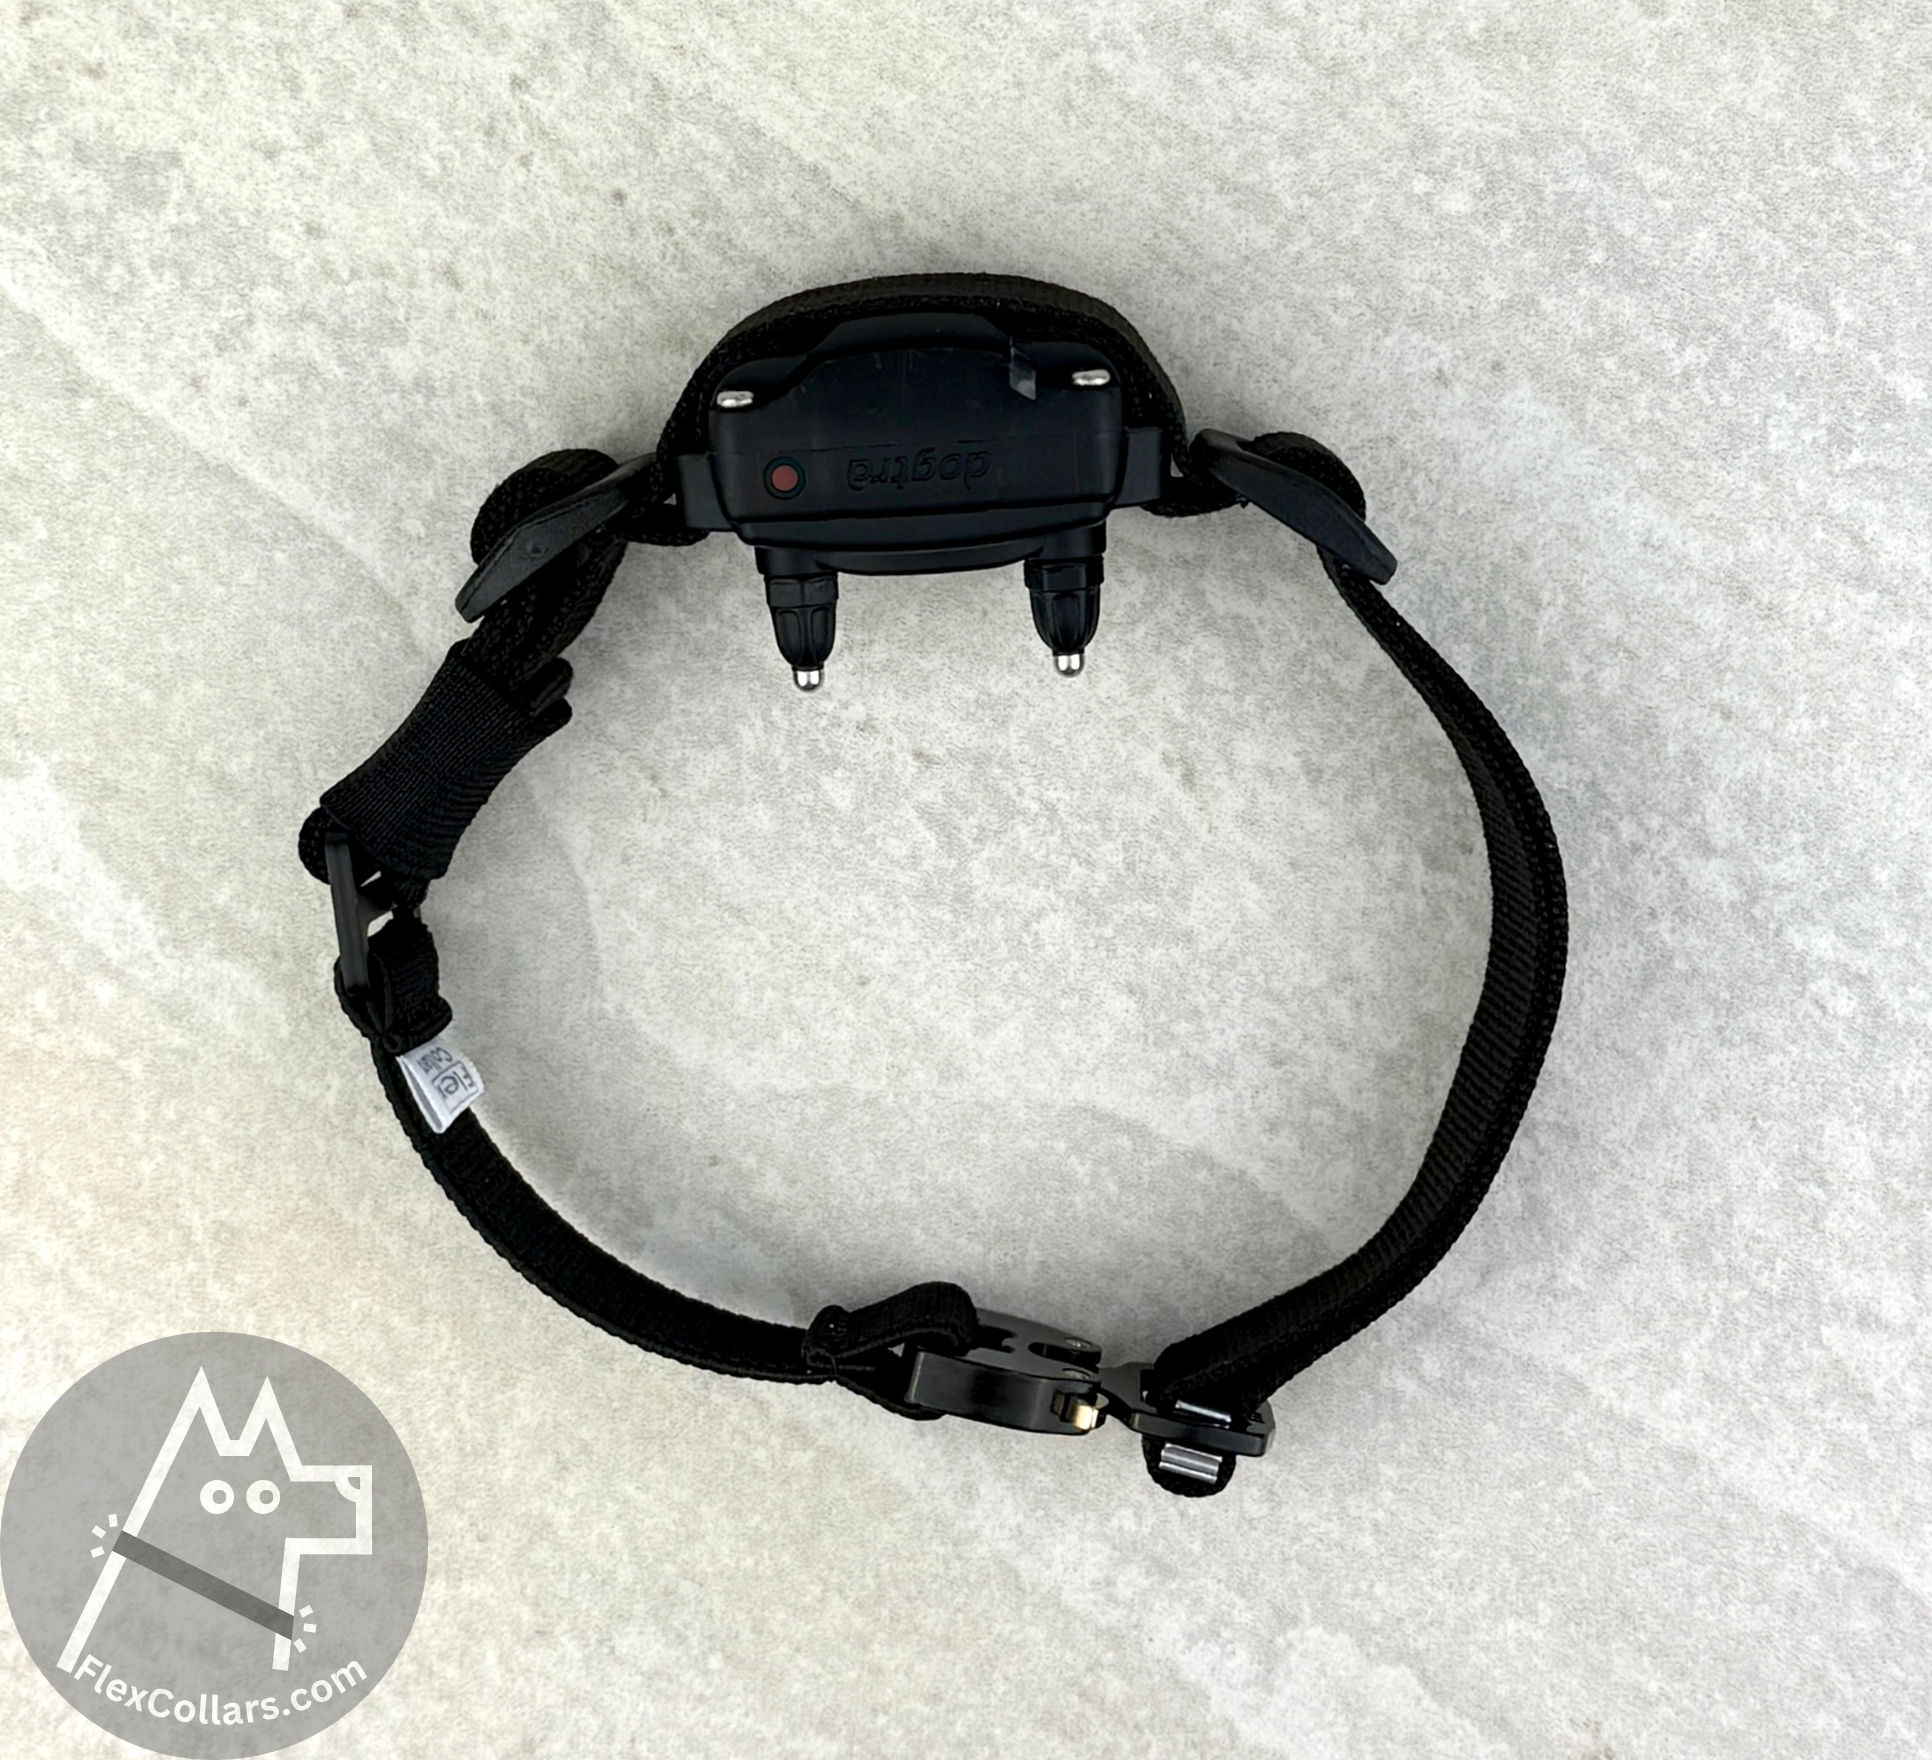
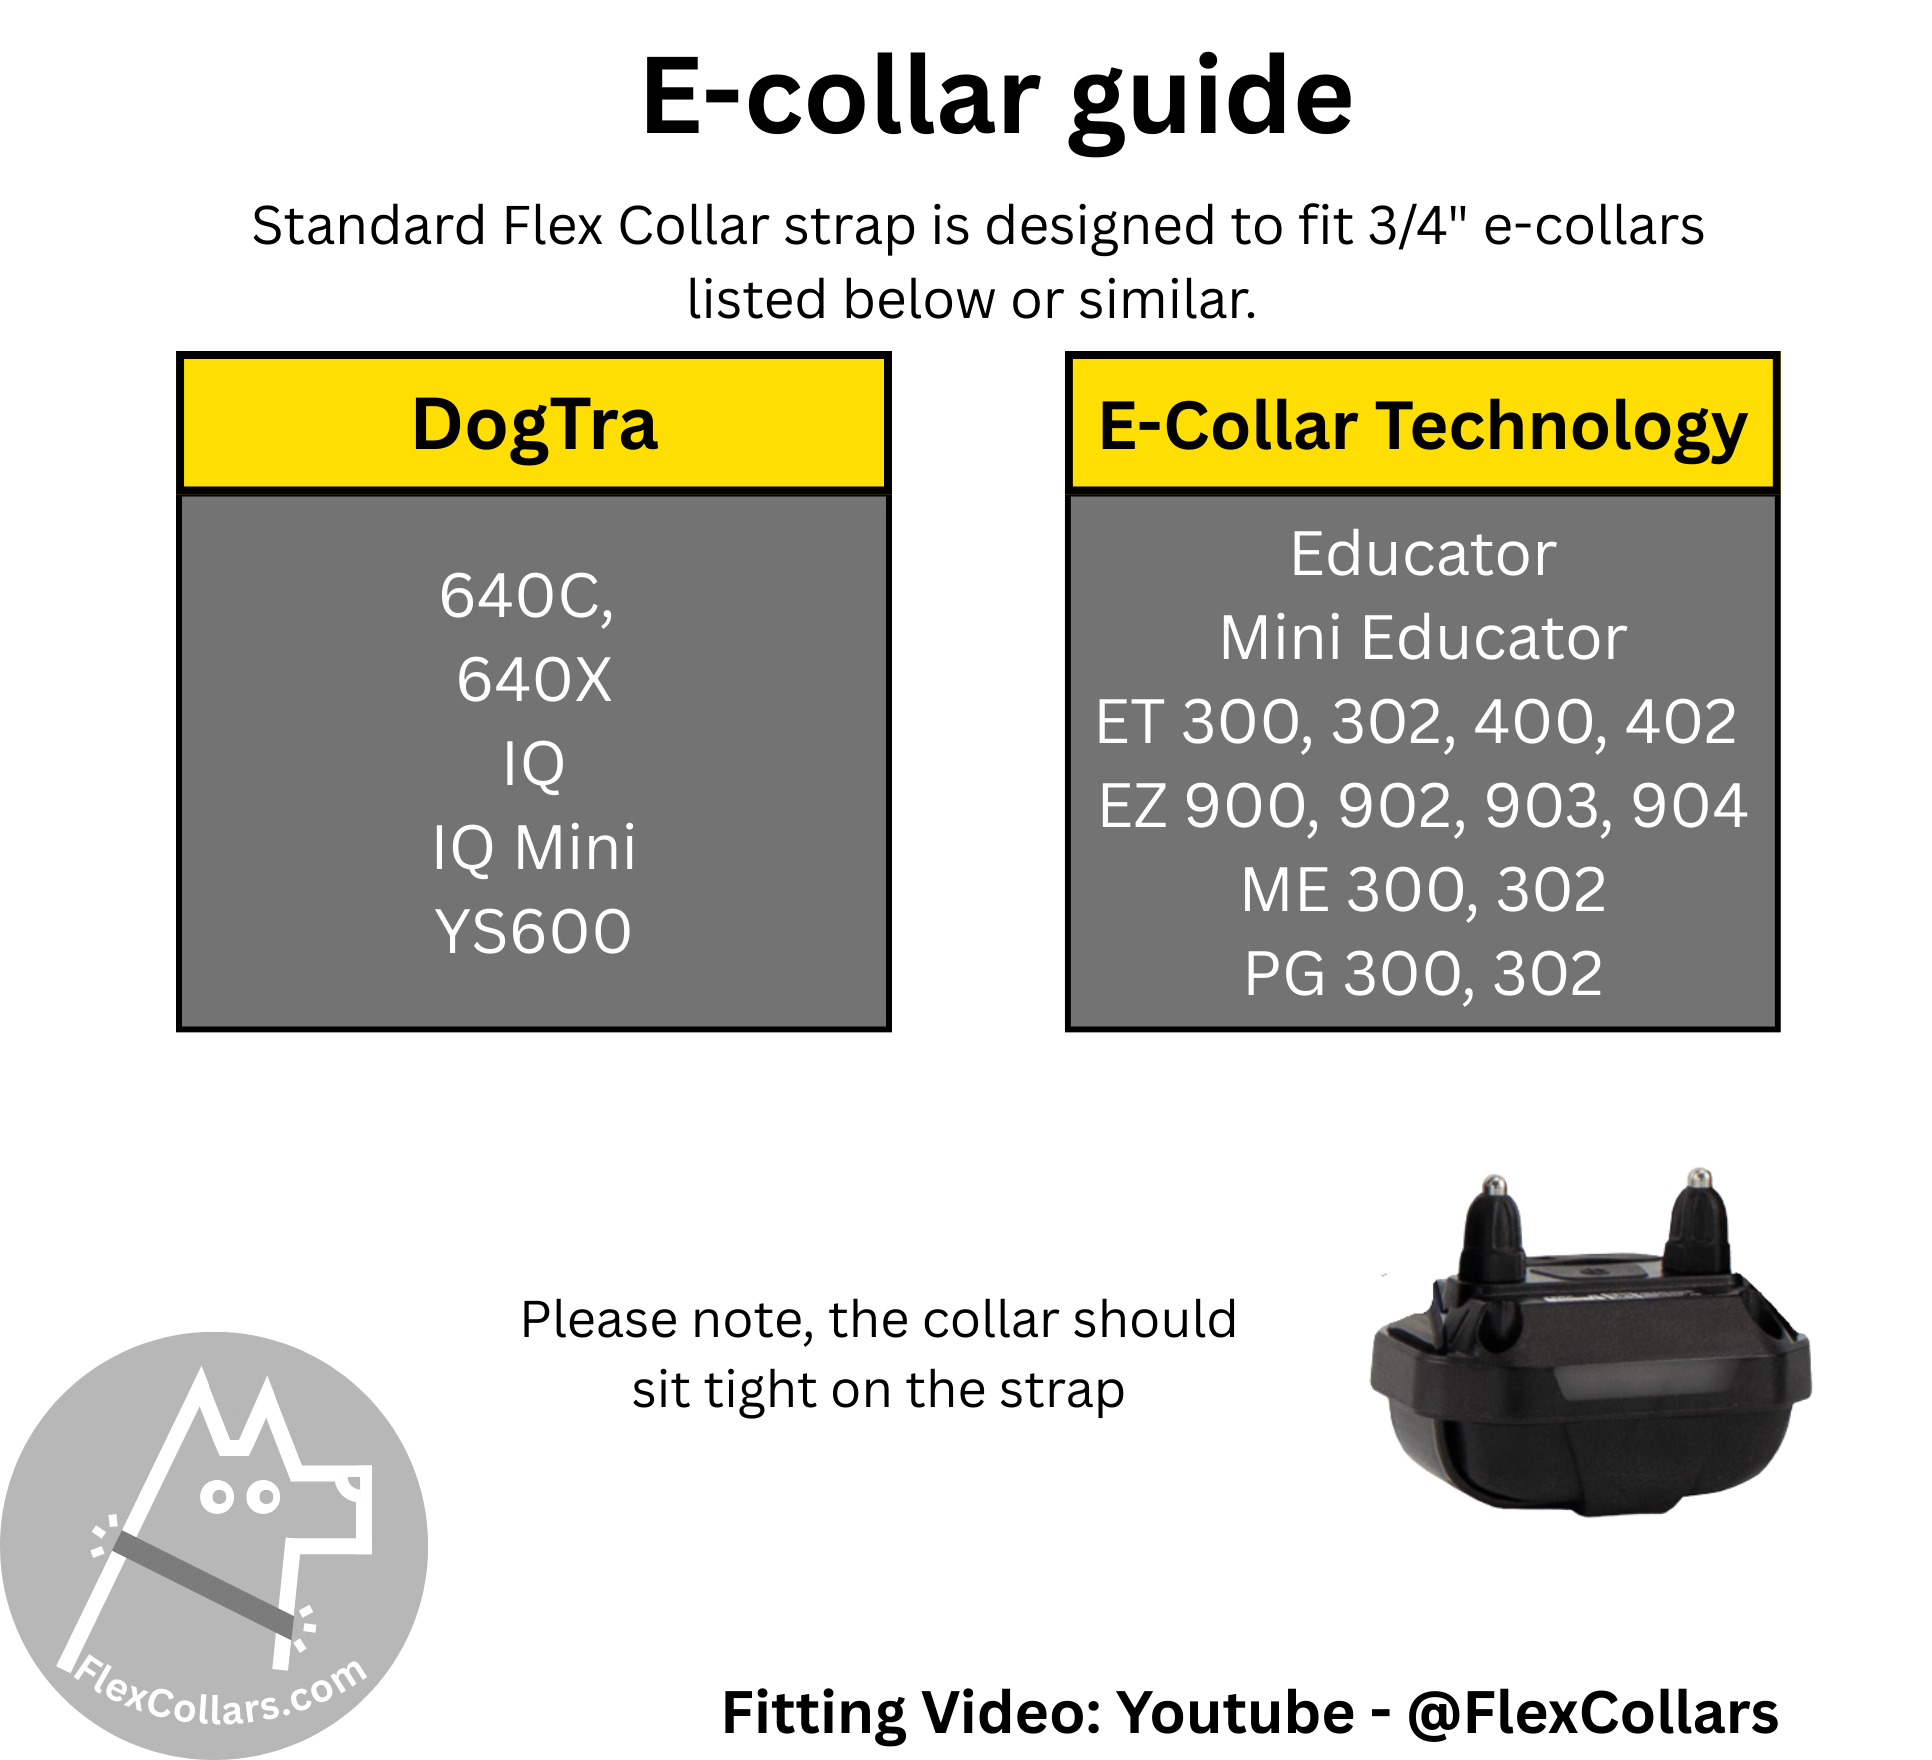
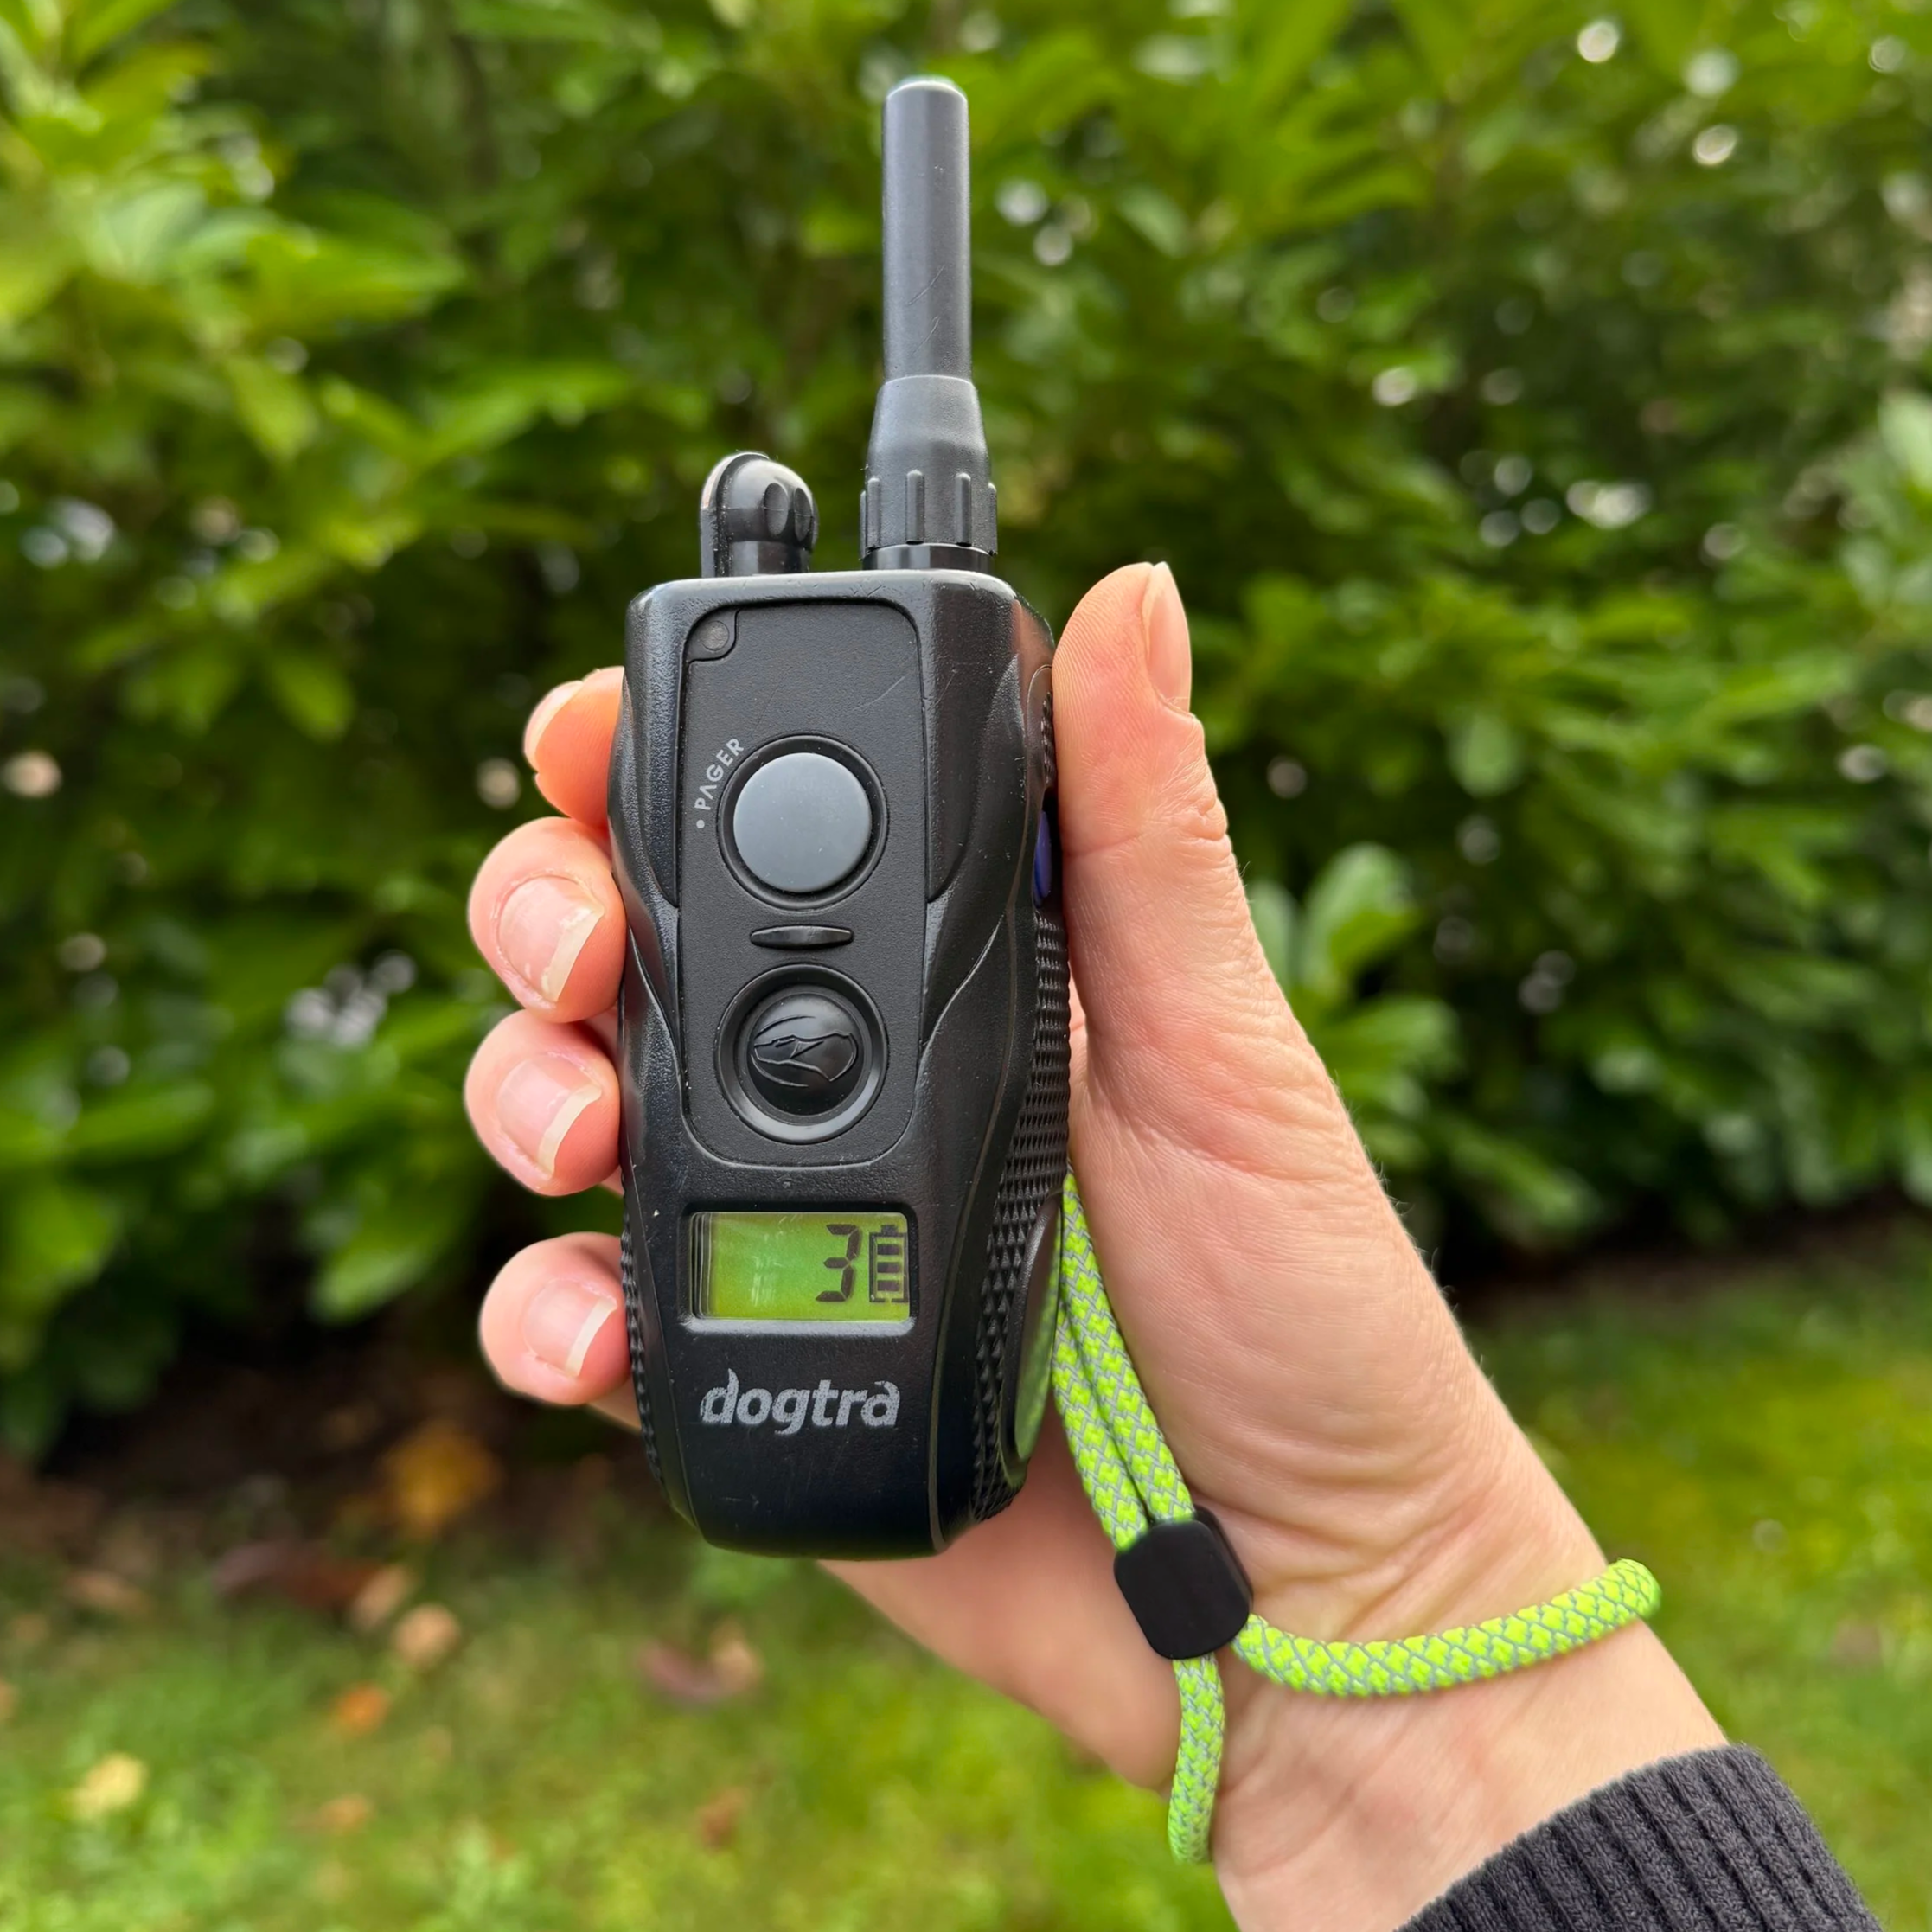
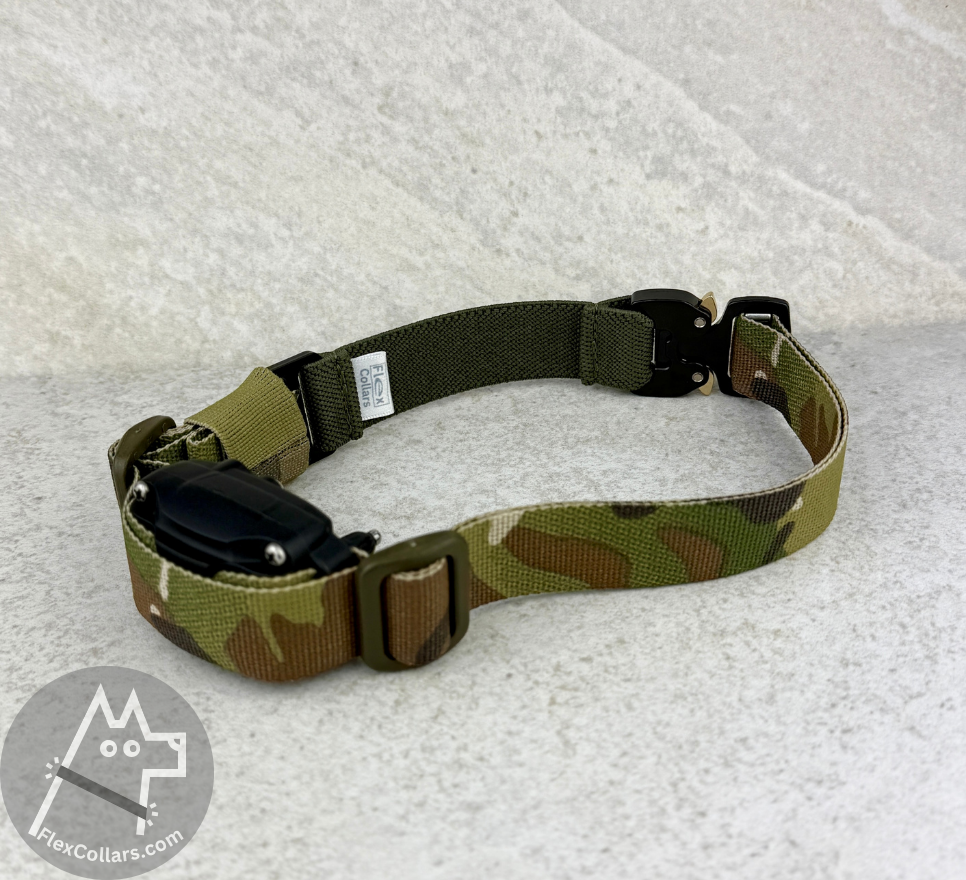
Flex Collars. How to fit your e-collar unit to a tactical bungee collar strap. This video is for e-collar units with 3/4" wide slots (DogTra IQ, IQ Flex, E-collar Technology, Garmin, or similar). The strap is 1" wide and was designed so the unit sits tight and will not flip on the dog's neck.
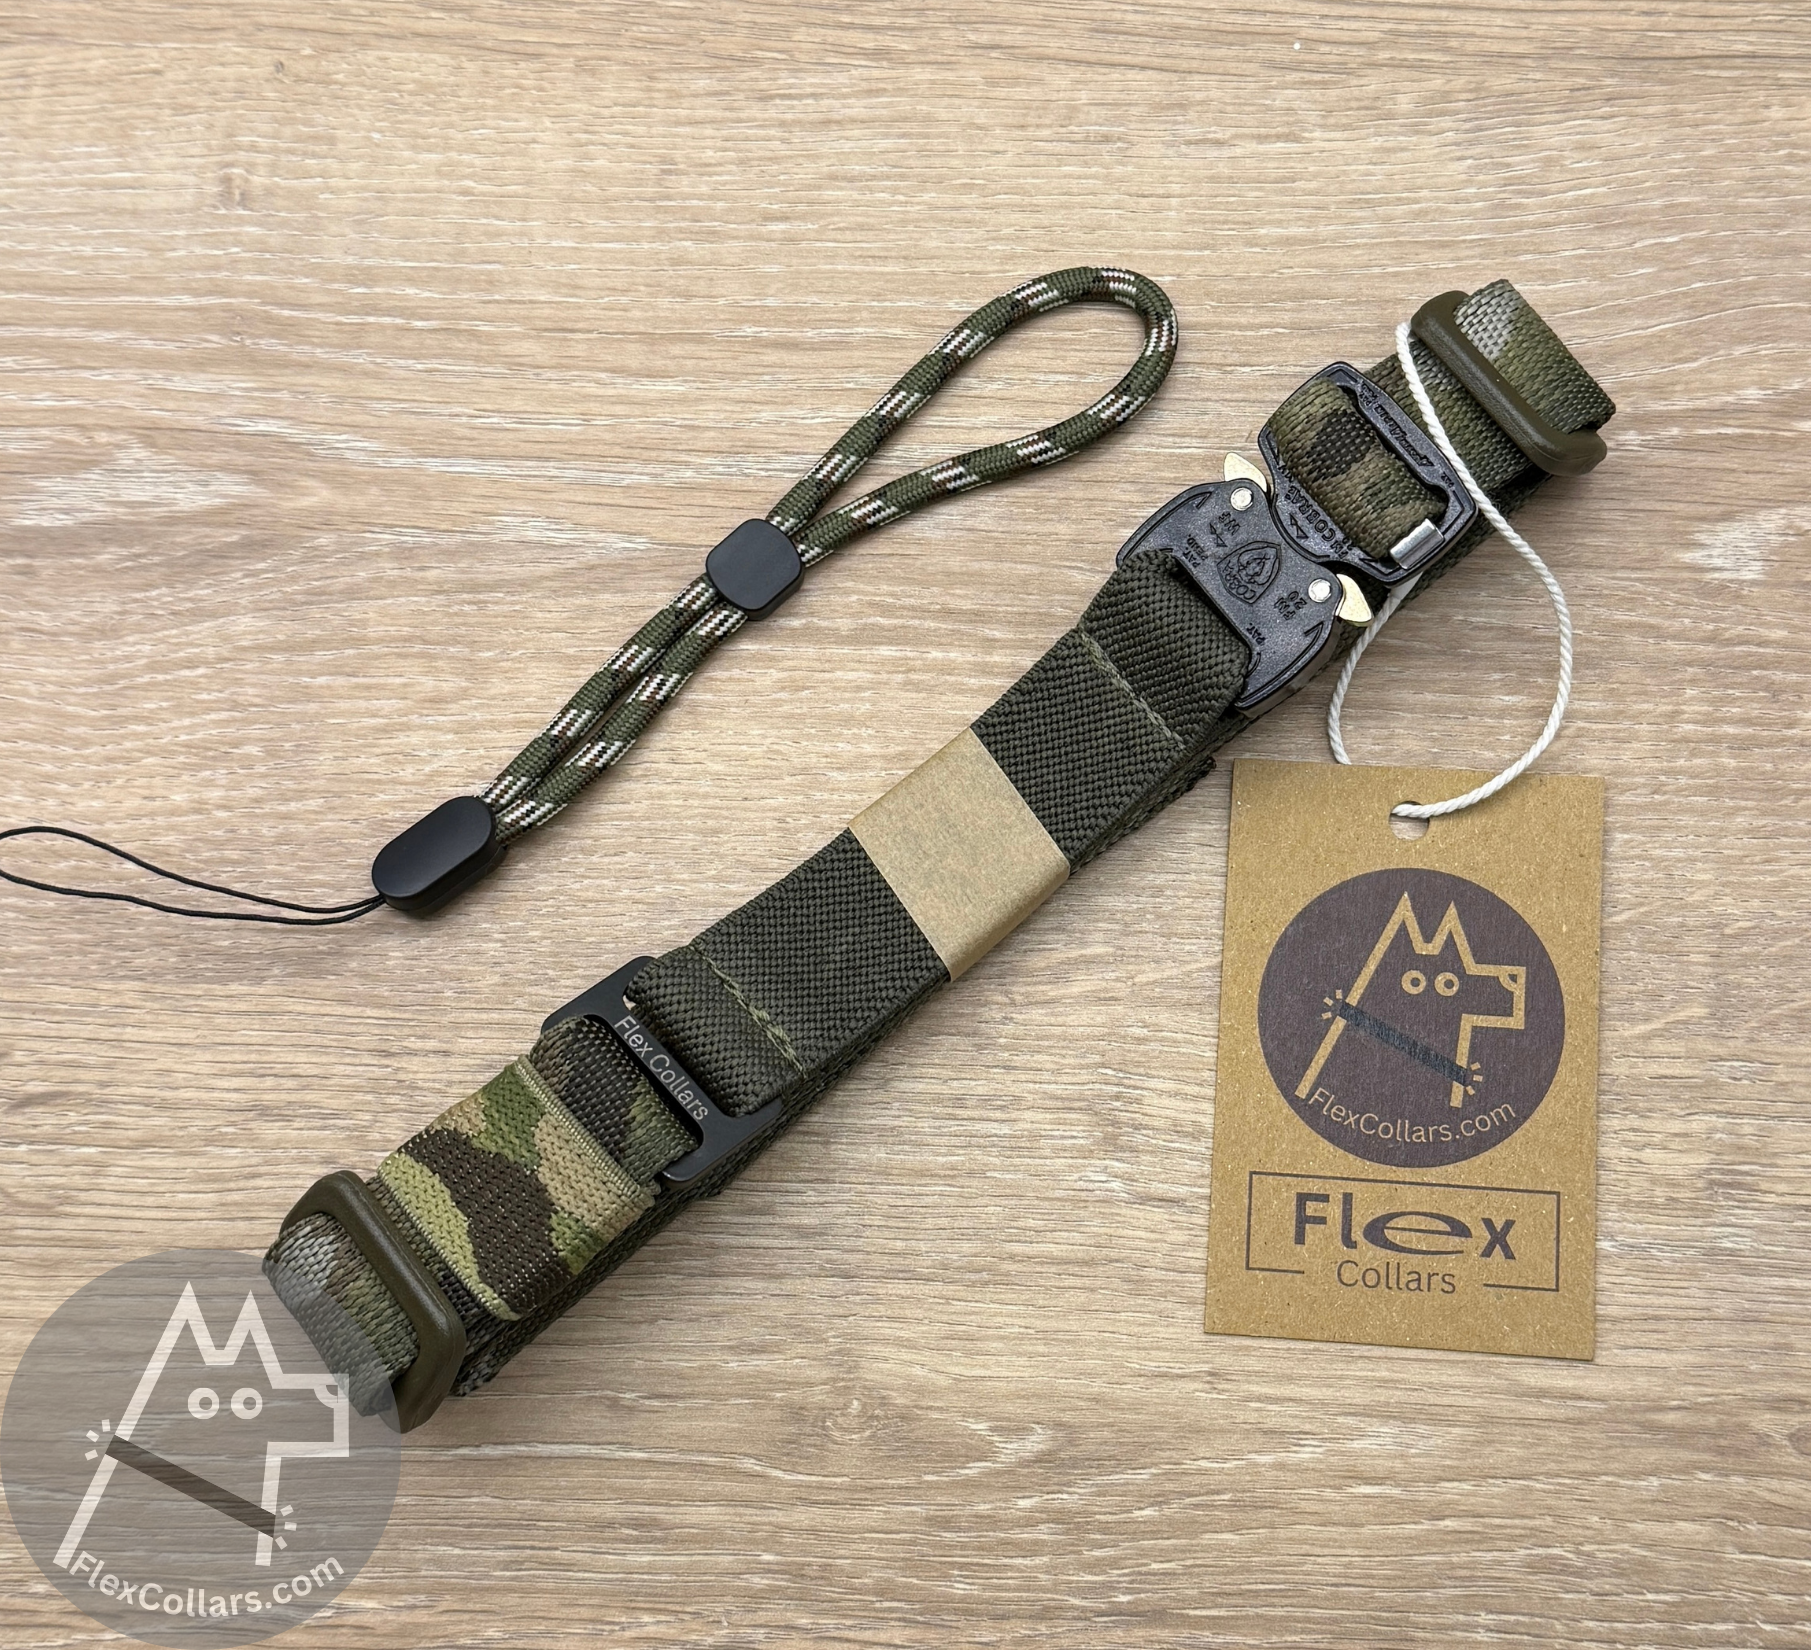
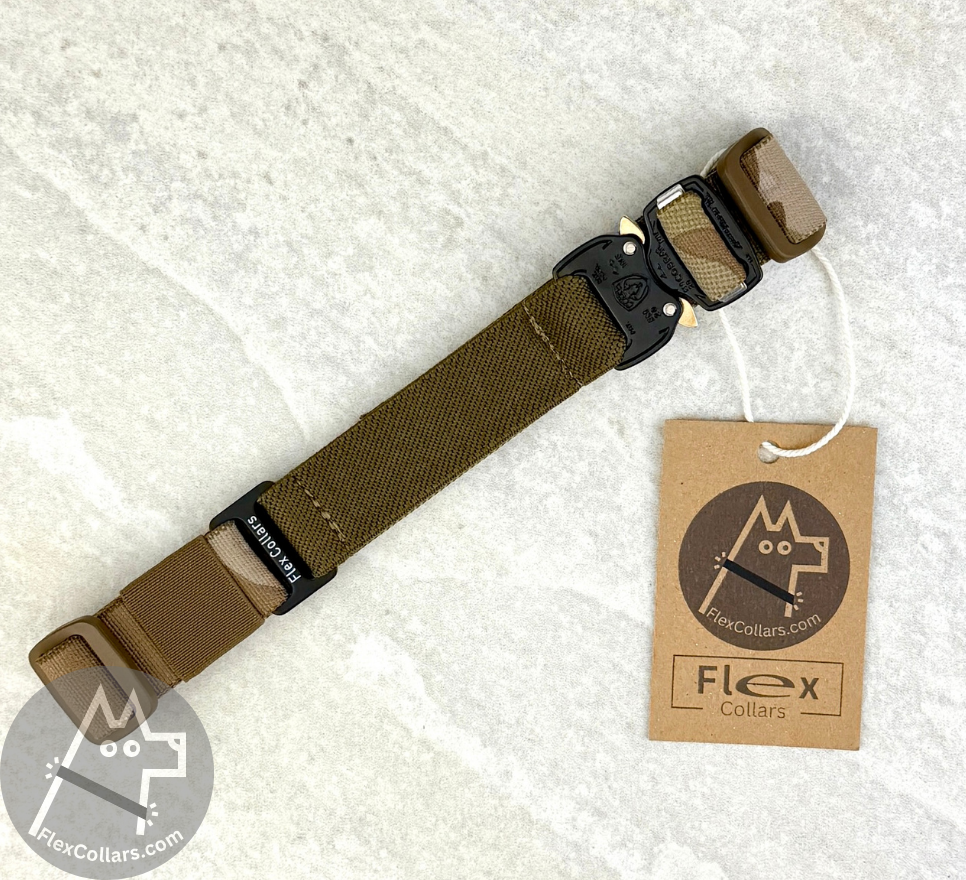
1. Unpack the collar that you ordered
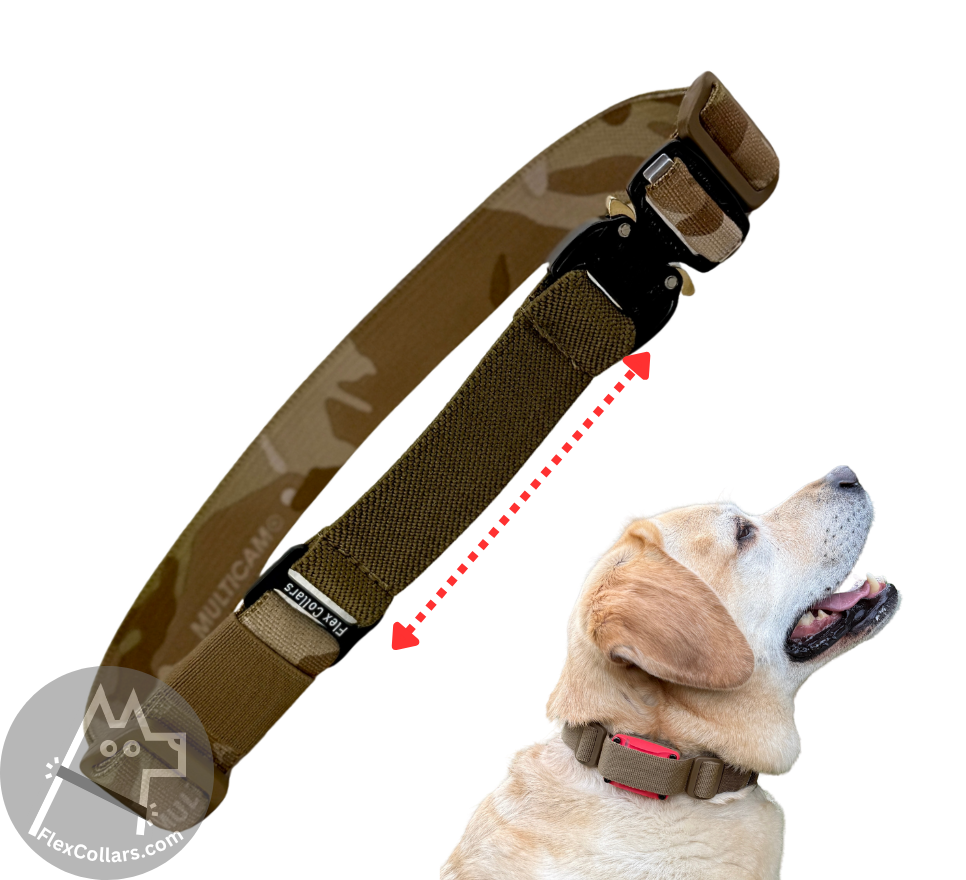
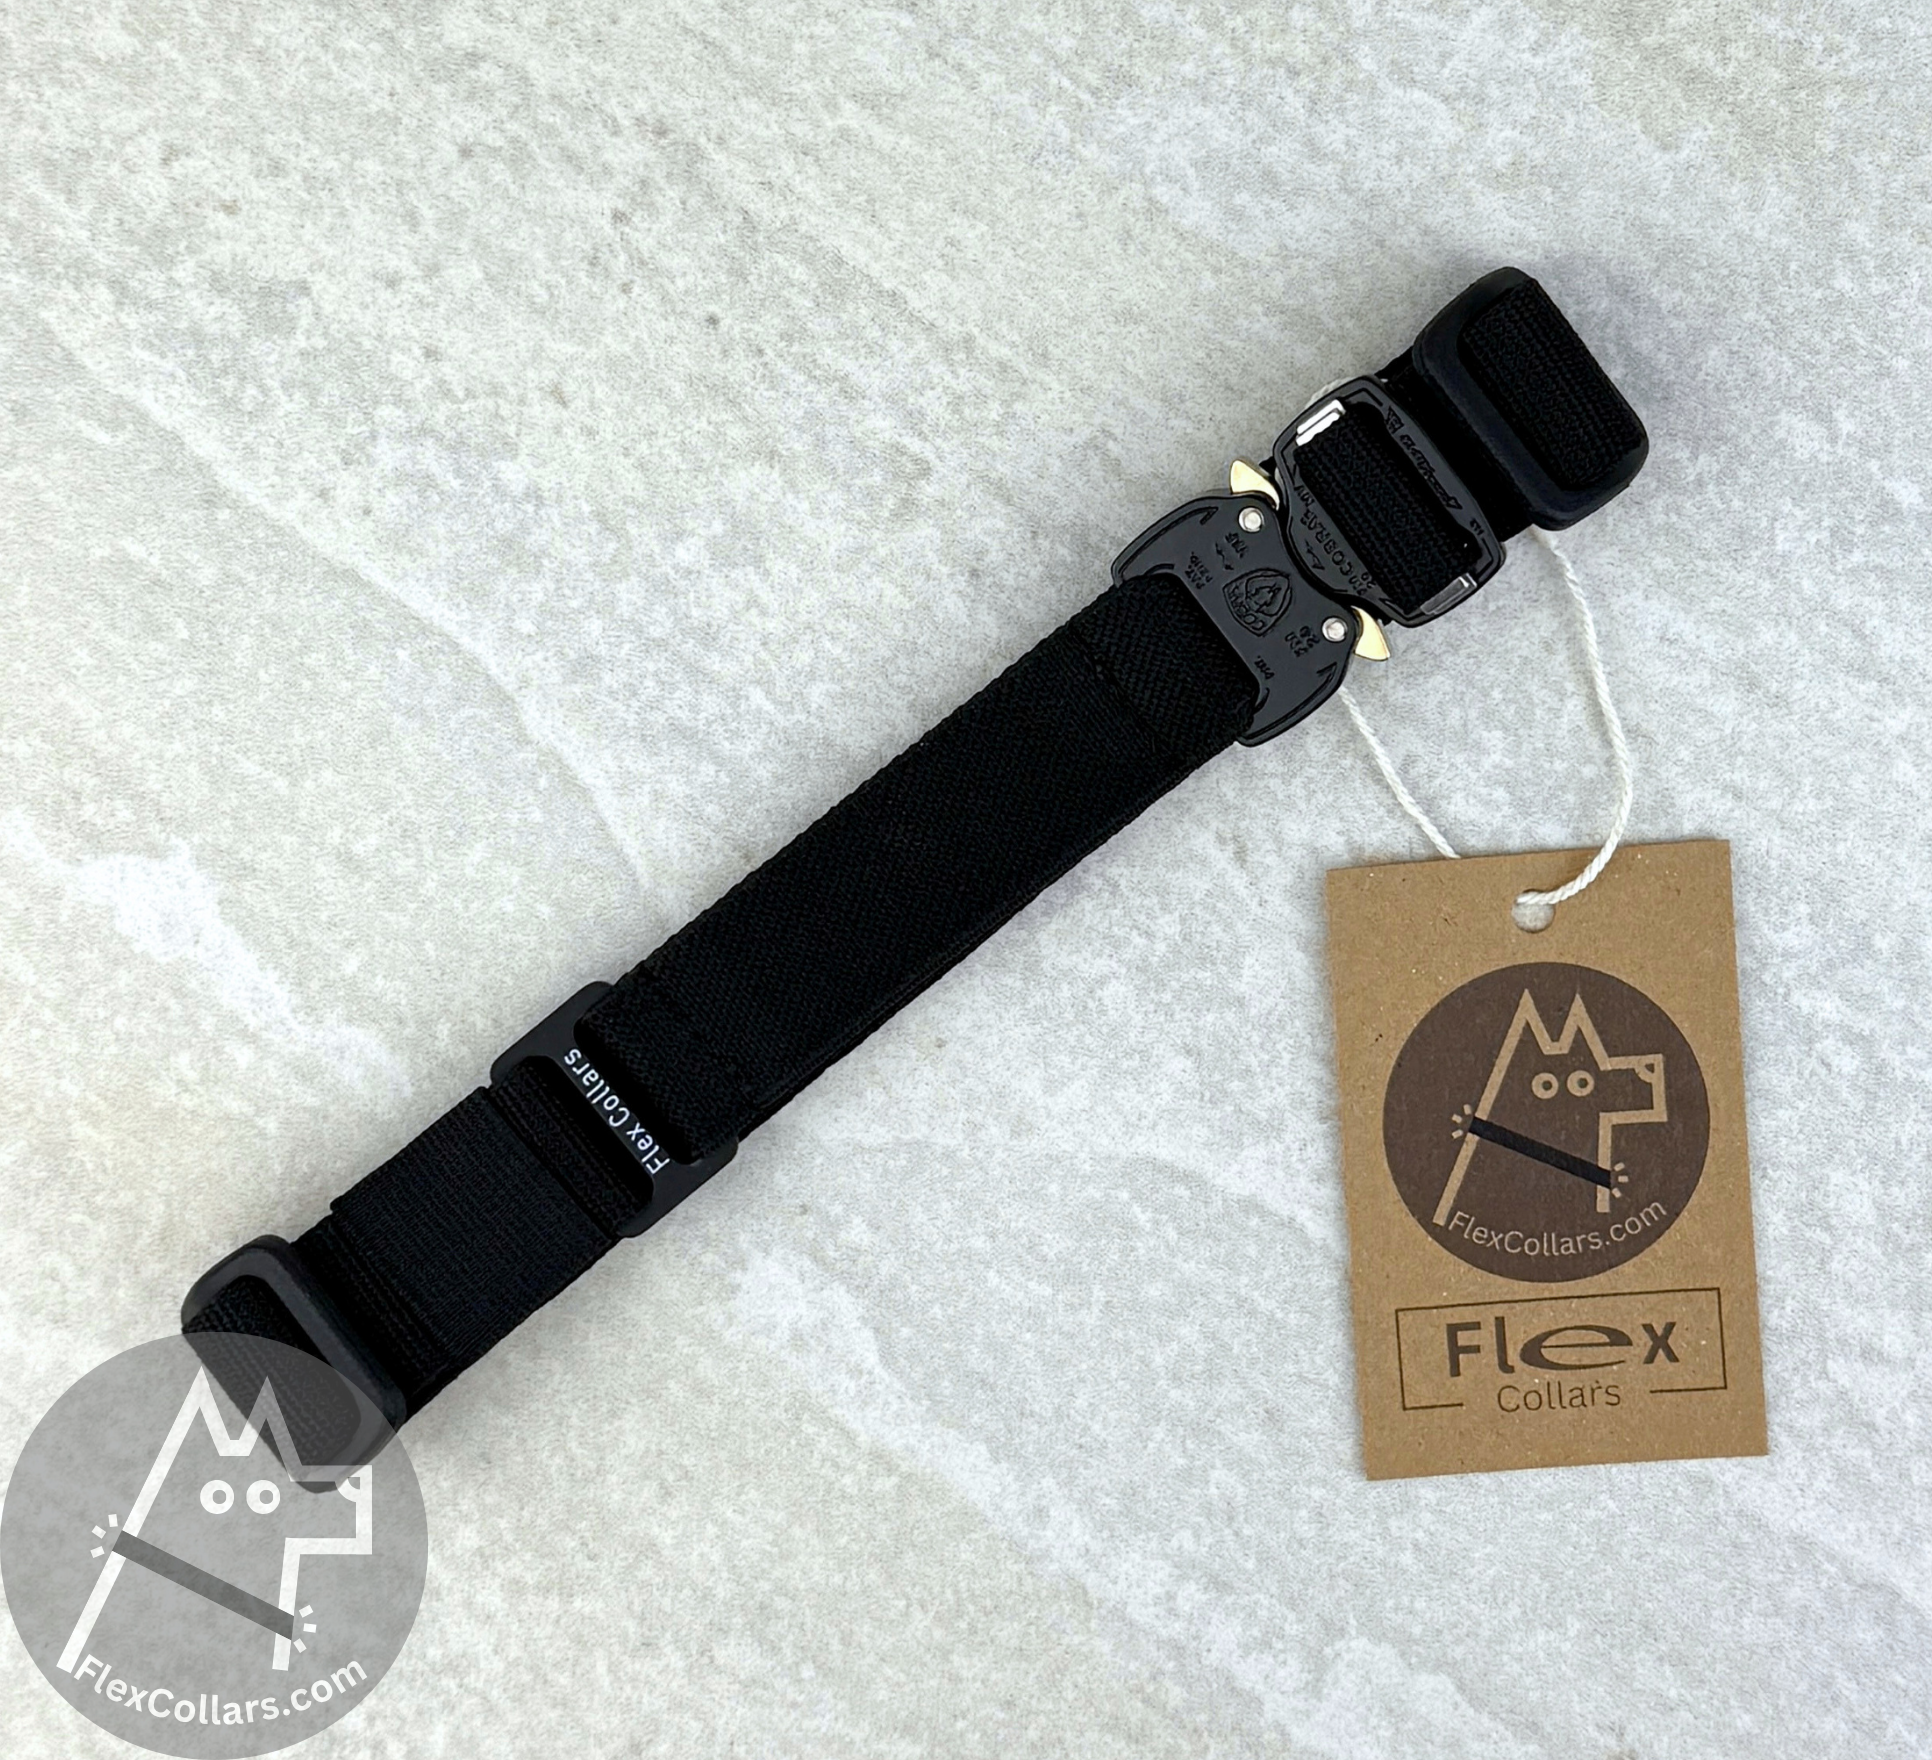
2. Unthread the free end, and remove 1 triglide. Put it aside. Now your collar has the buckle, elastic element, metal trigride, the webbing and 1 plastic triglide all tied into 1 long element
First Layer:
3. Thread the collar through the webbing until it meets the triglide. You want your collar to be touching the plastic triglide.
4. The strap goes flat over the top
5. Take the second plastic triglide and thread it through the webbing so the collar will be caught between 2 plastic triglides as shown in the video
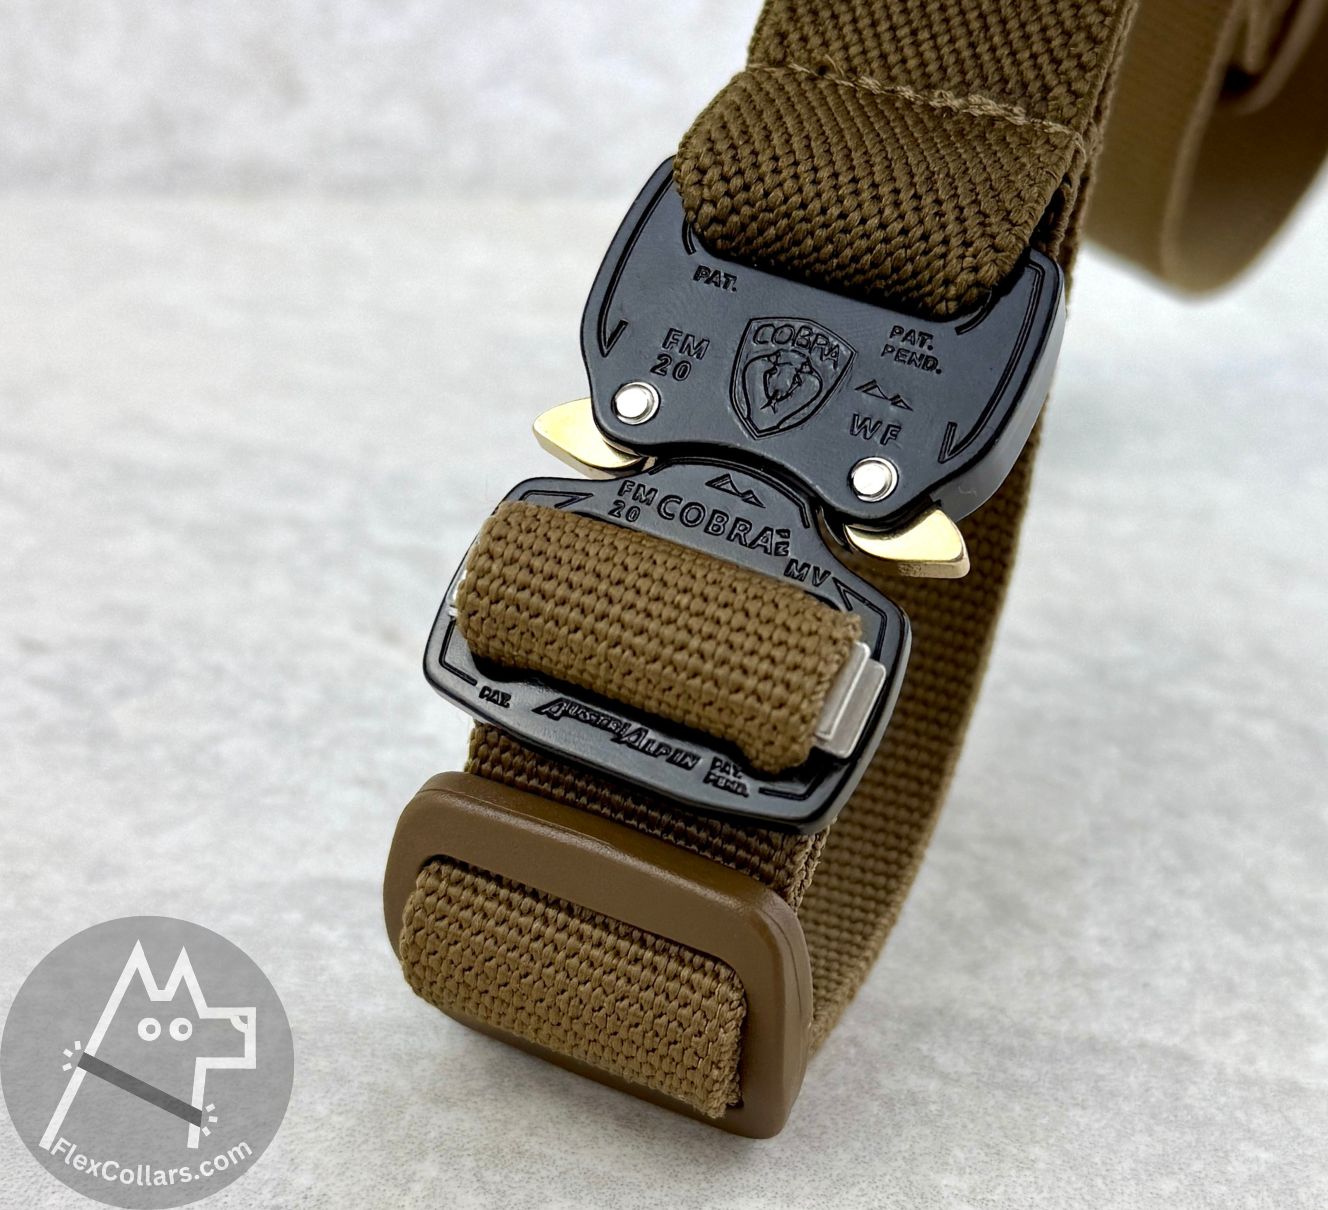
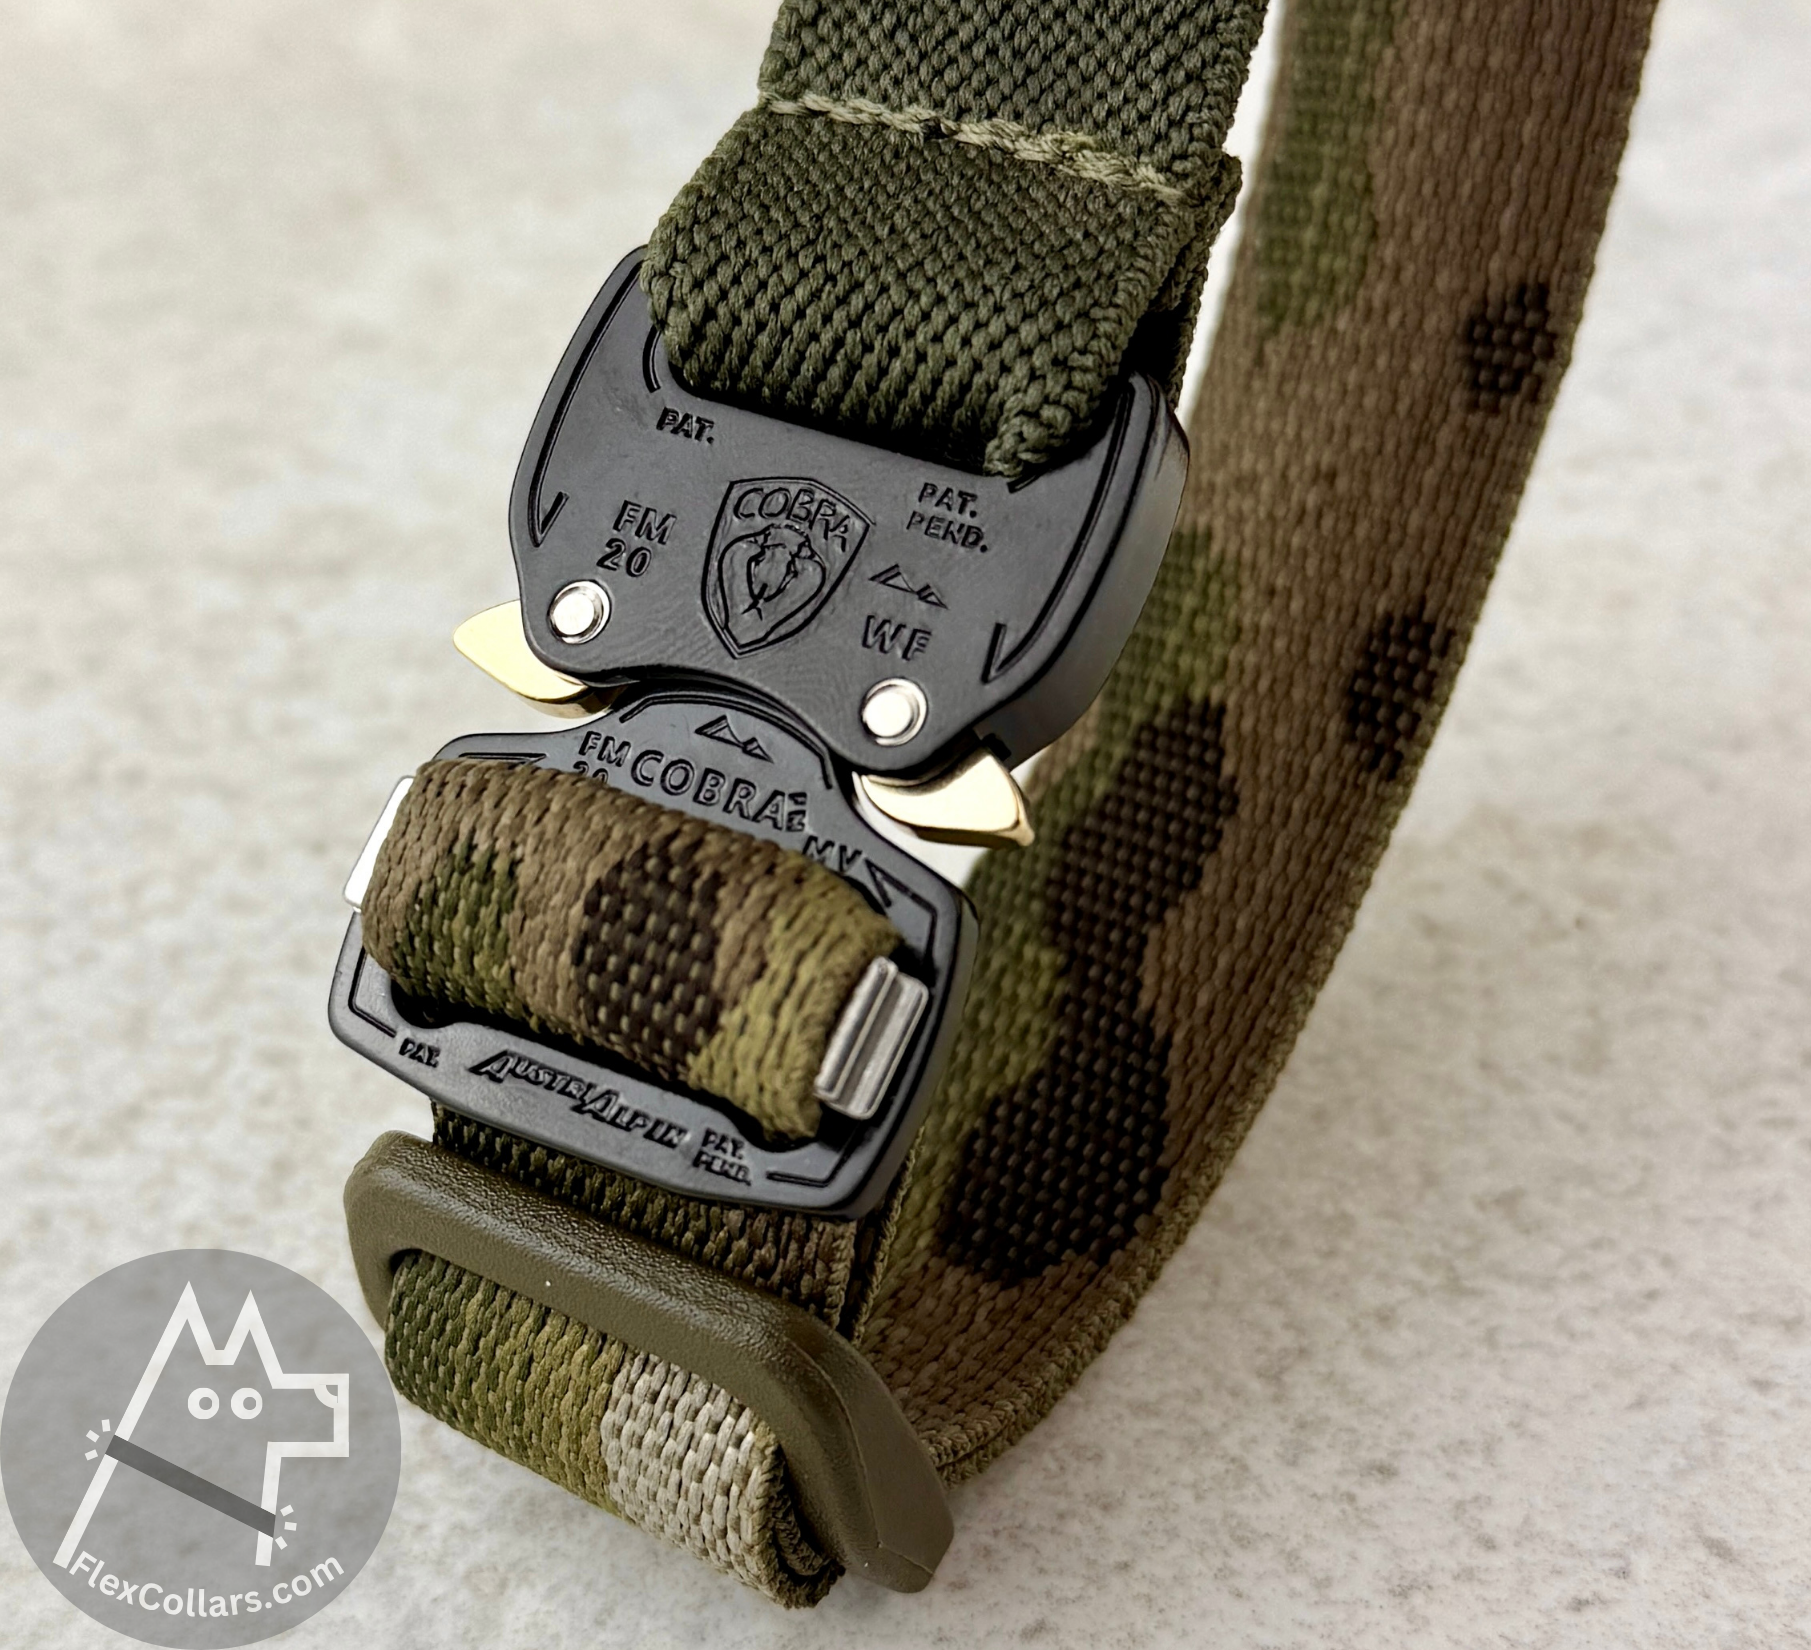
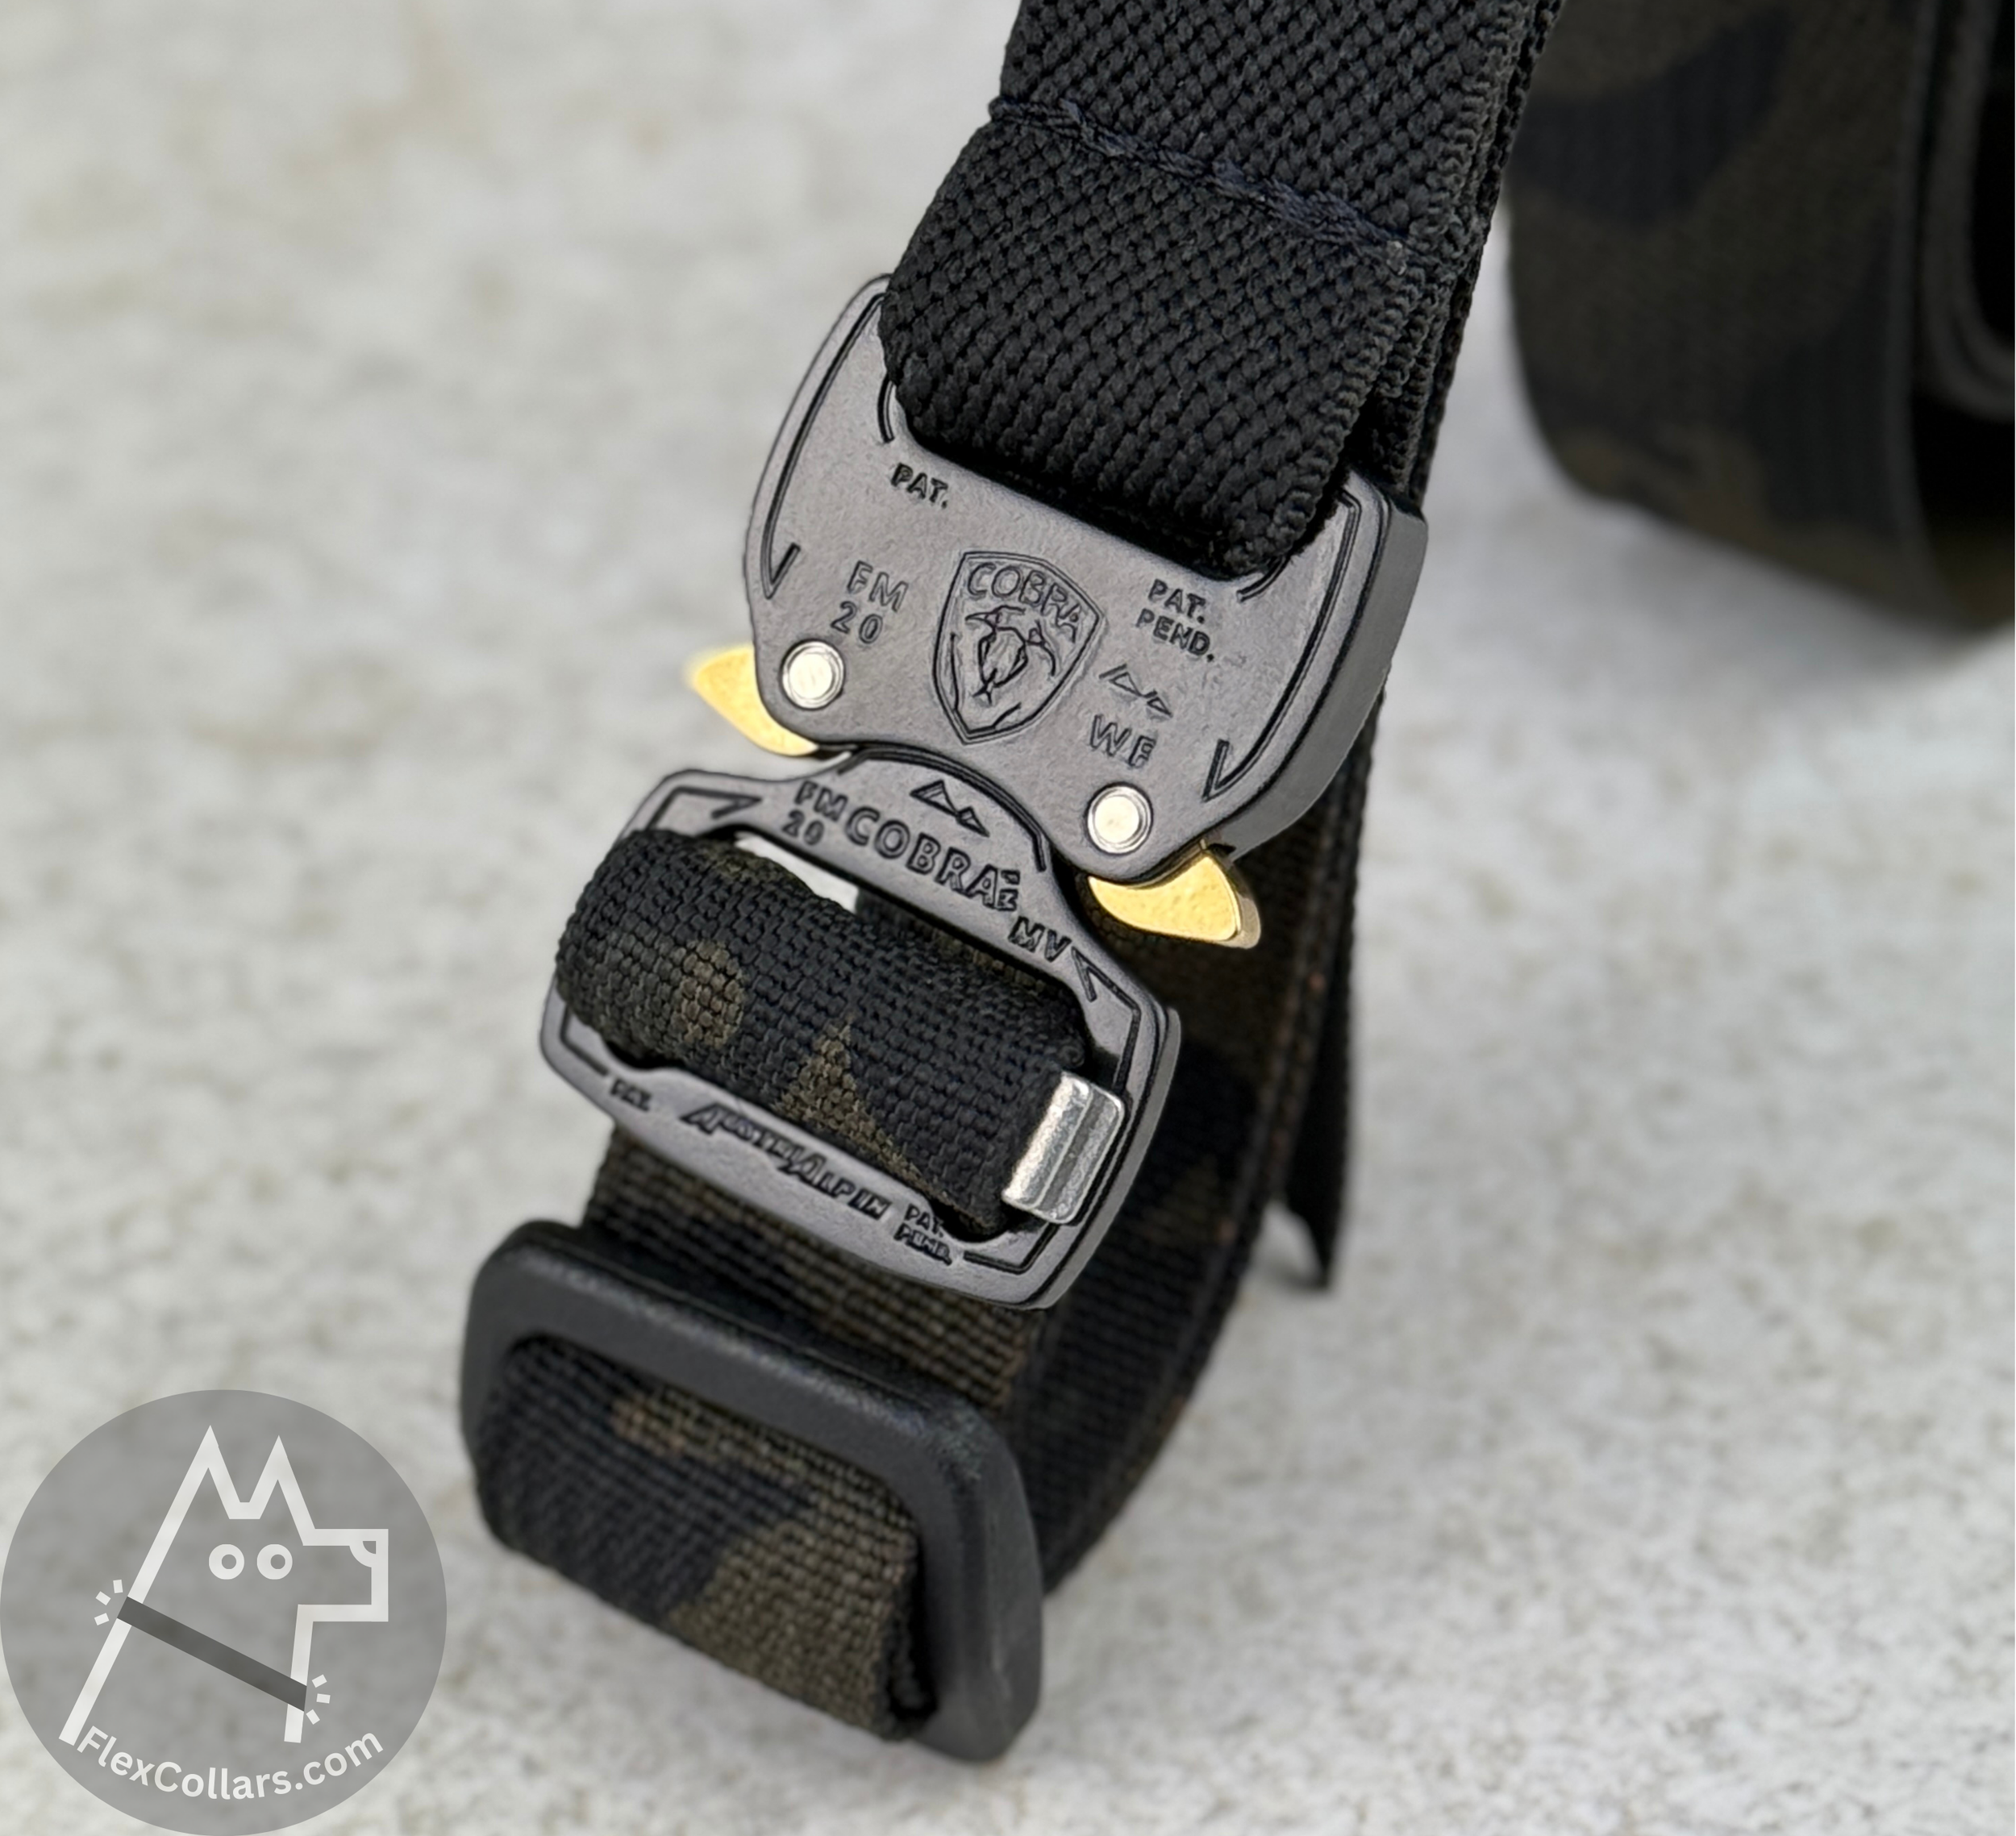
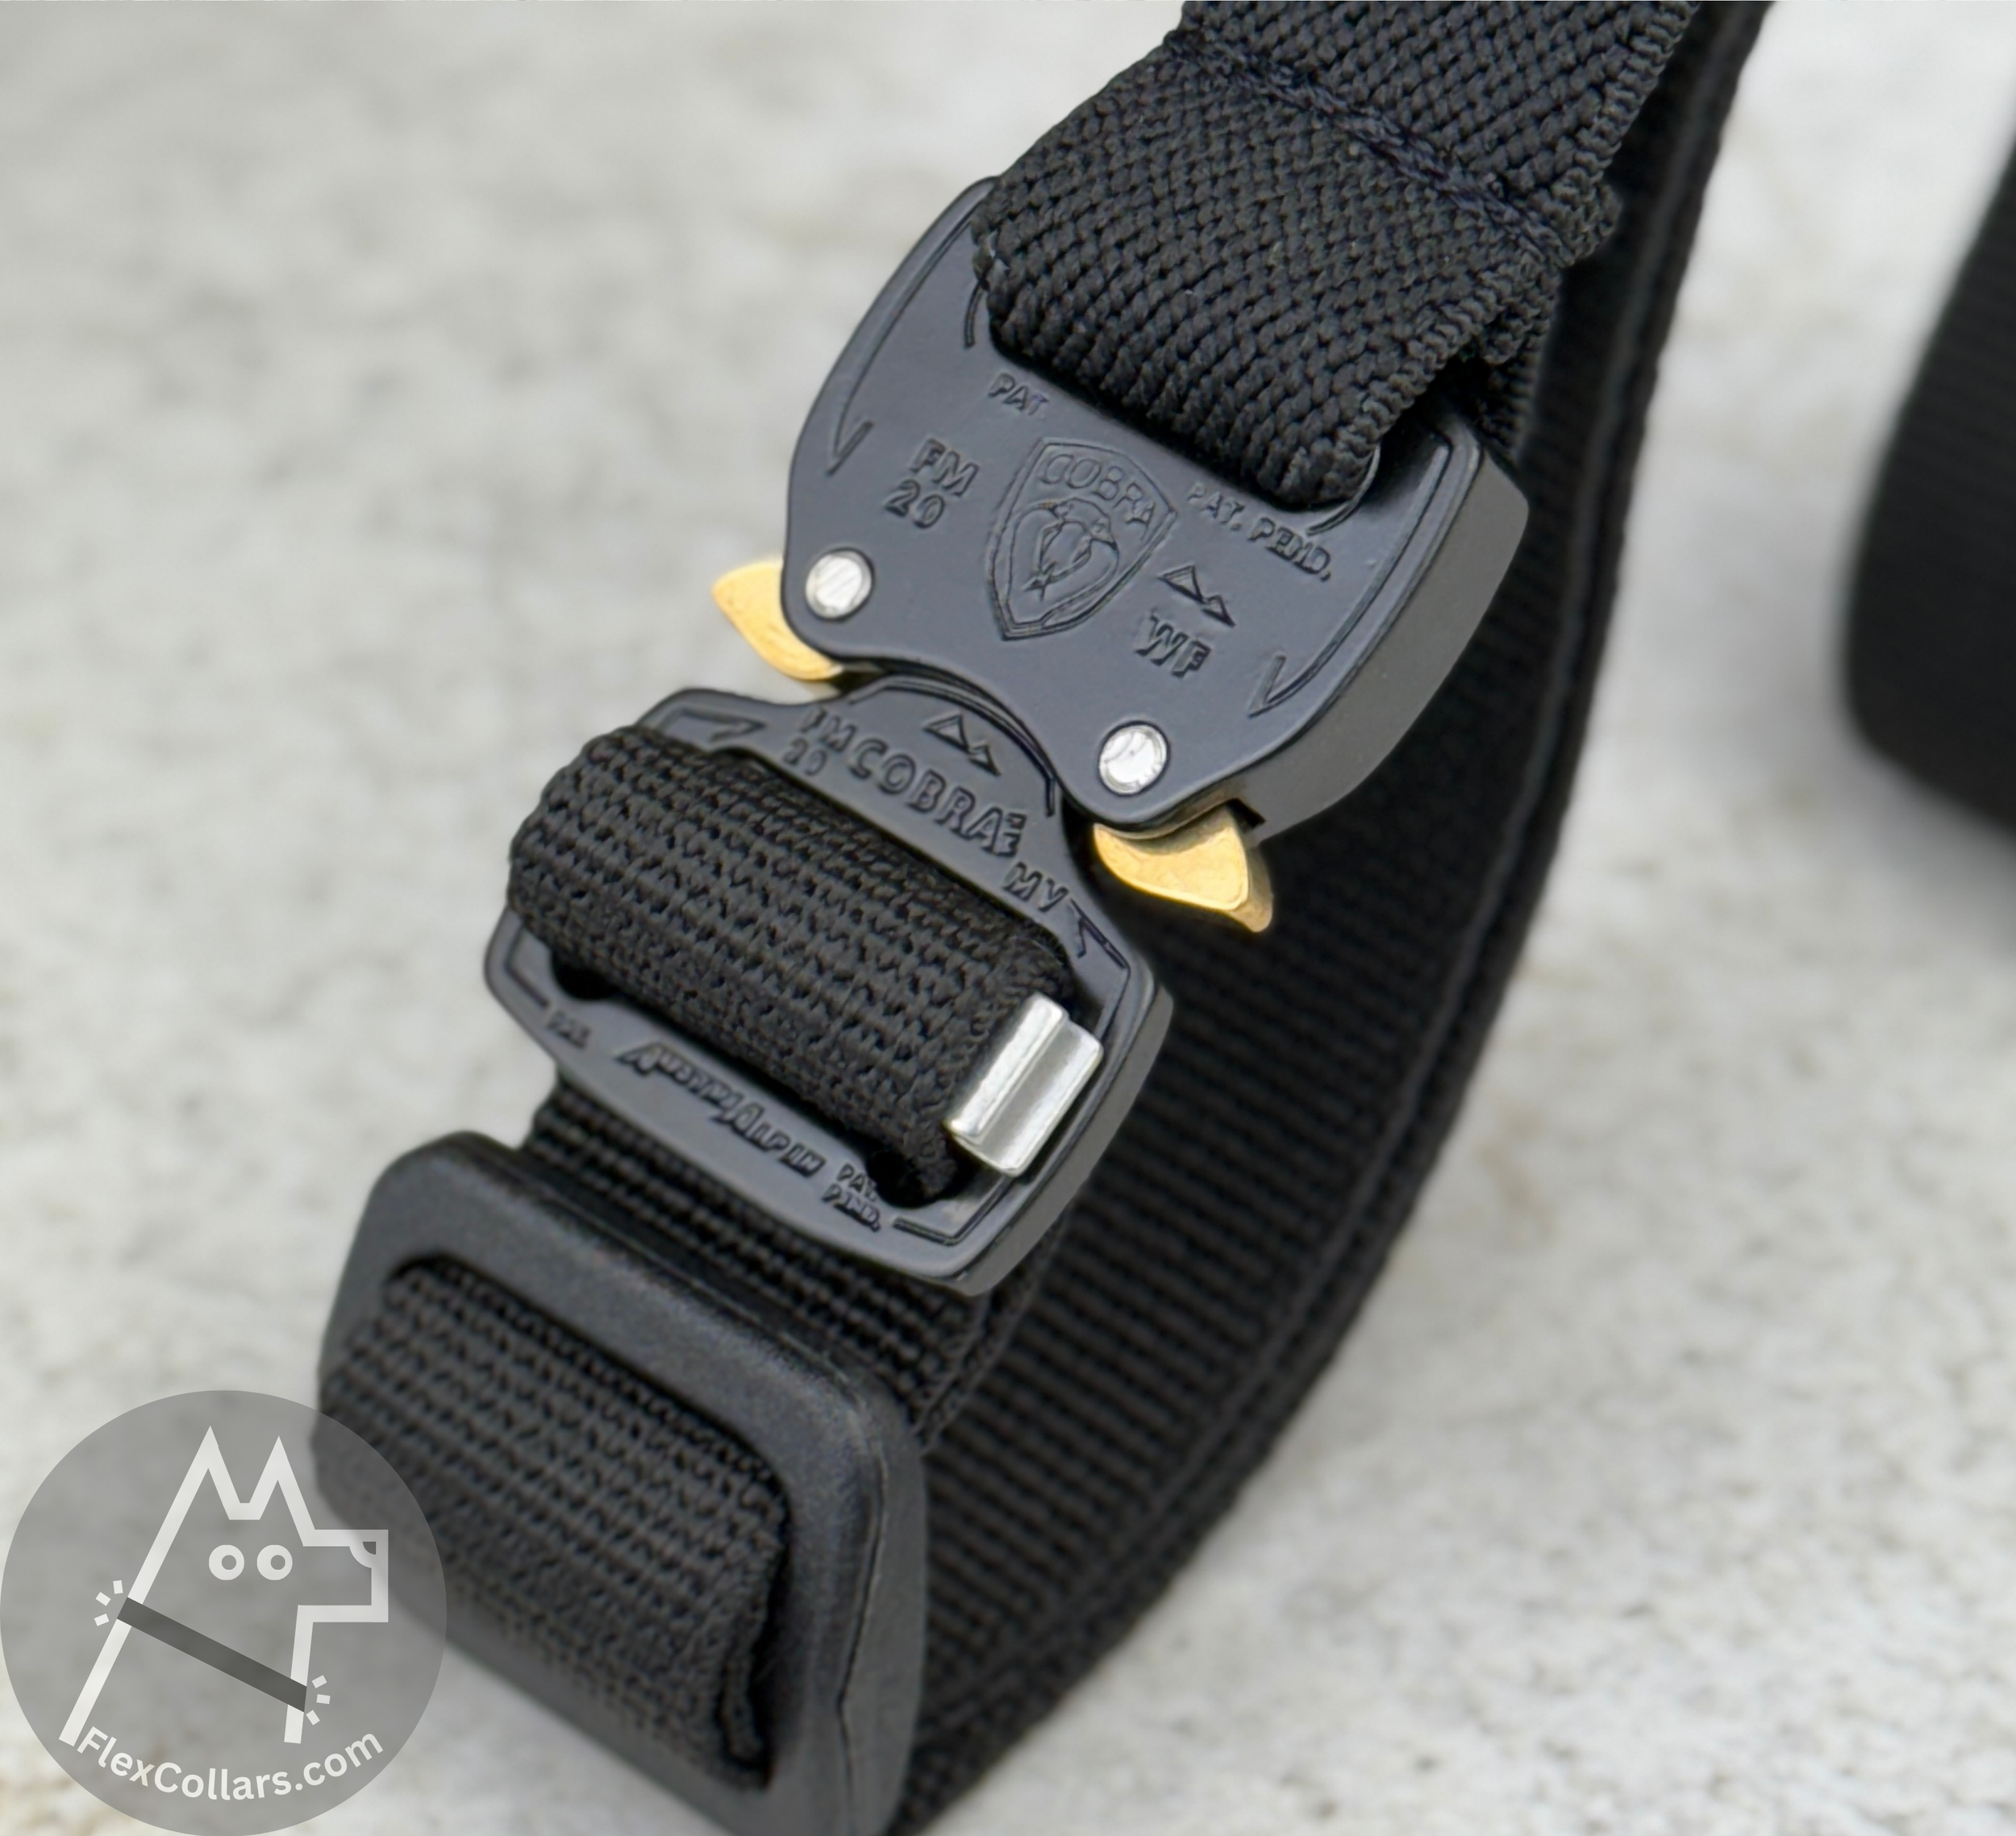
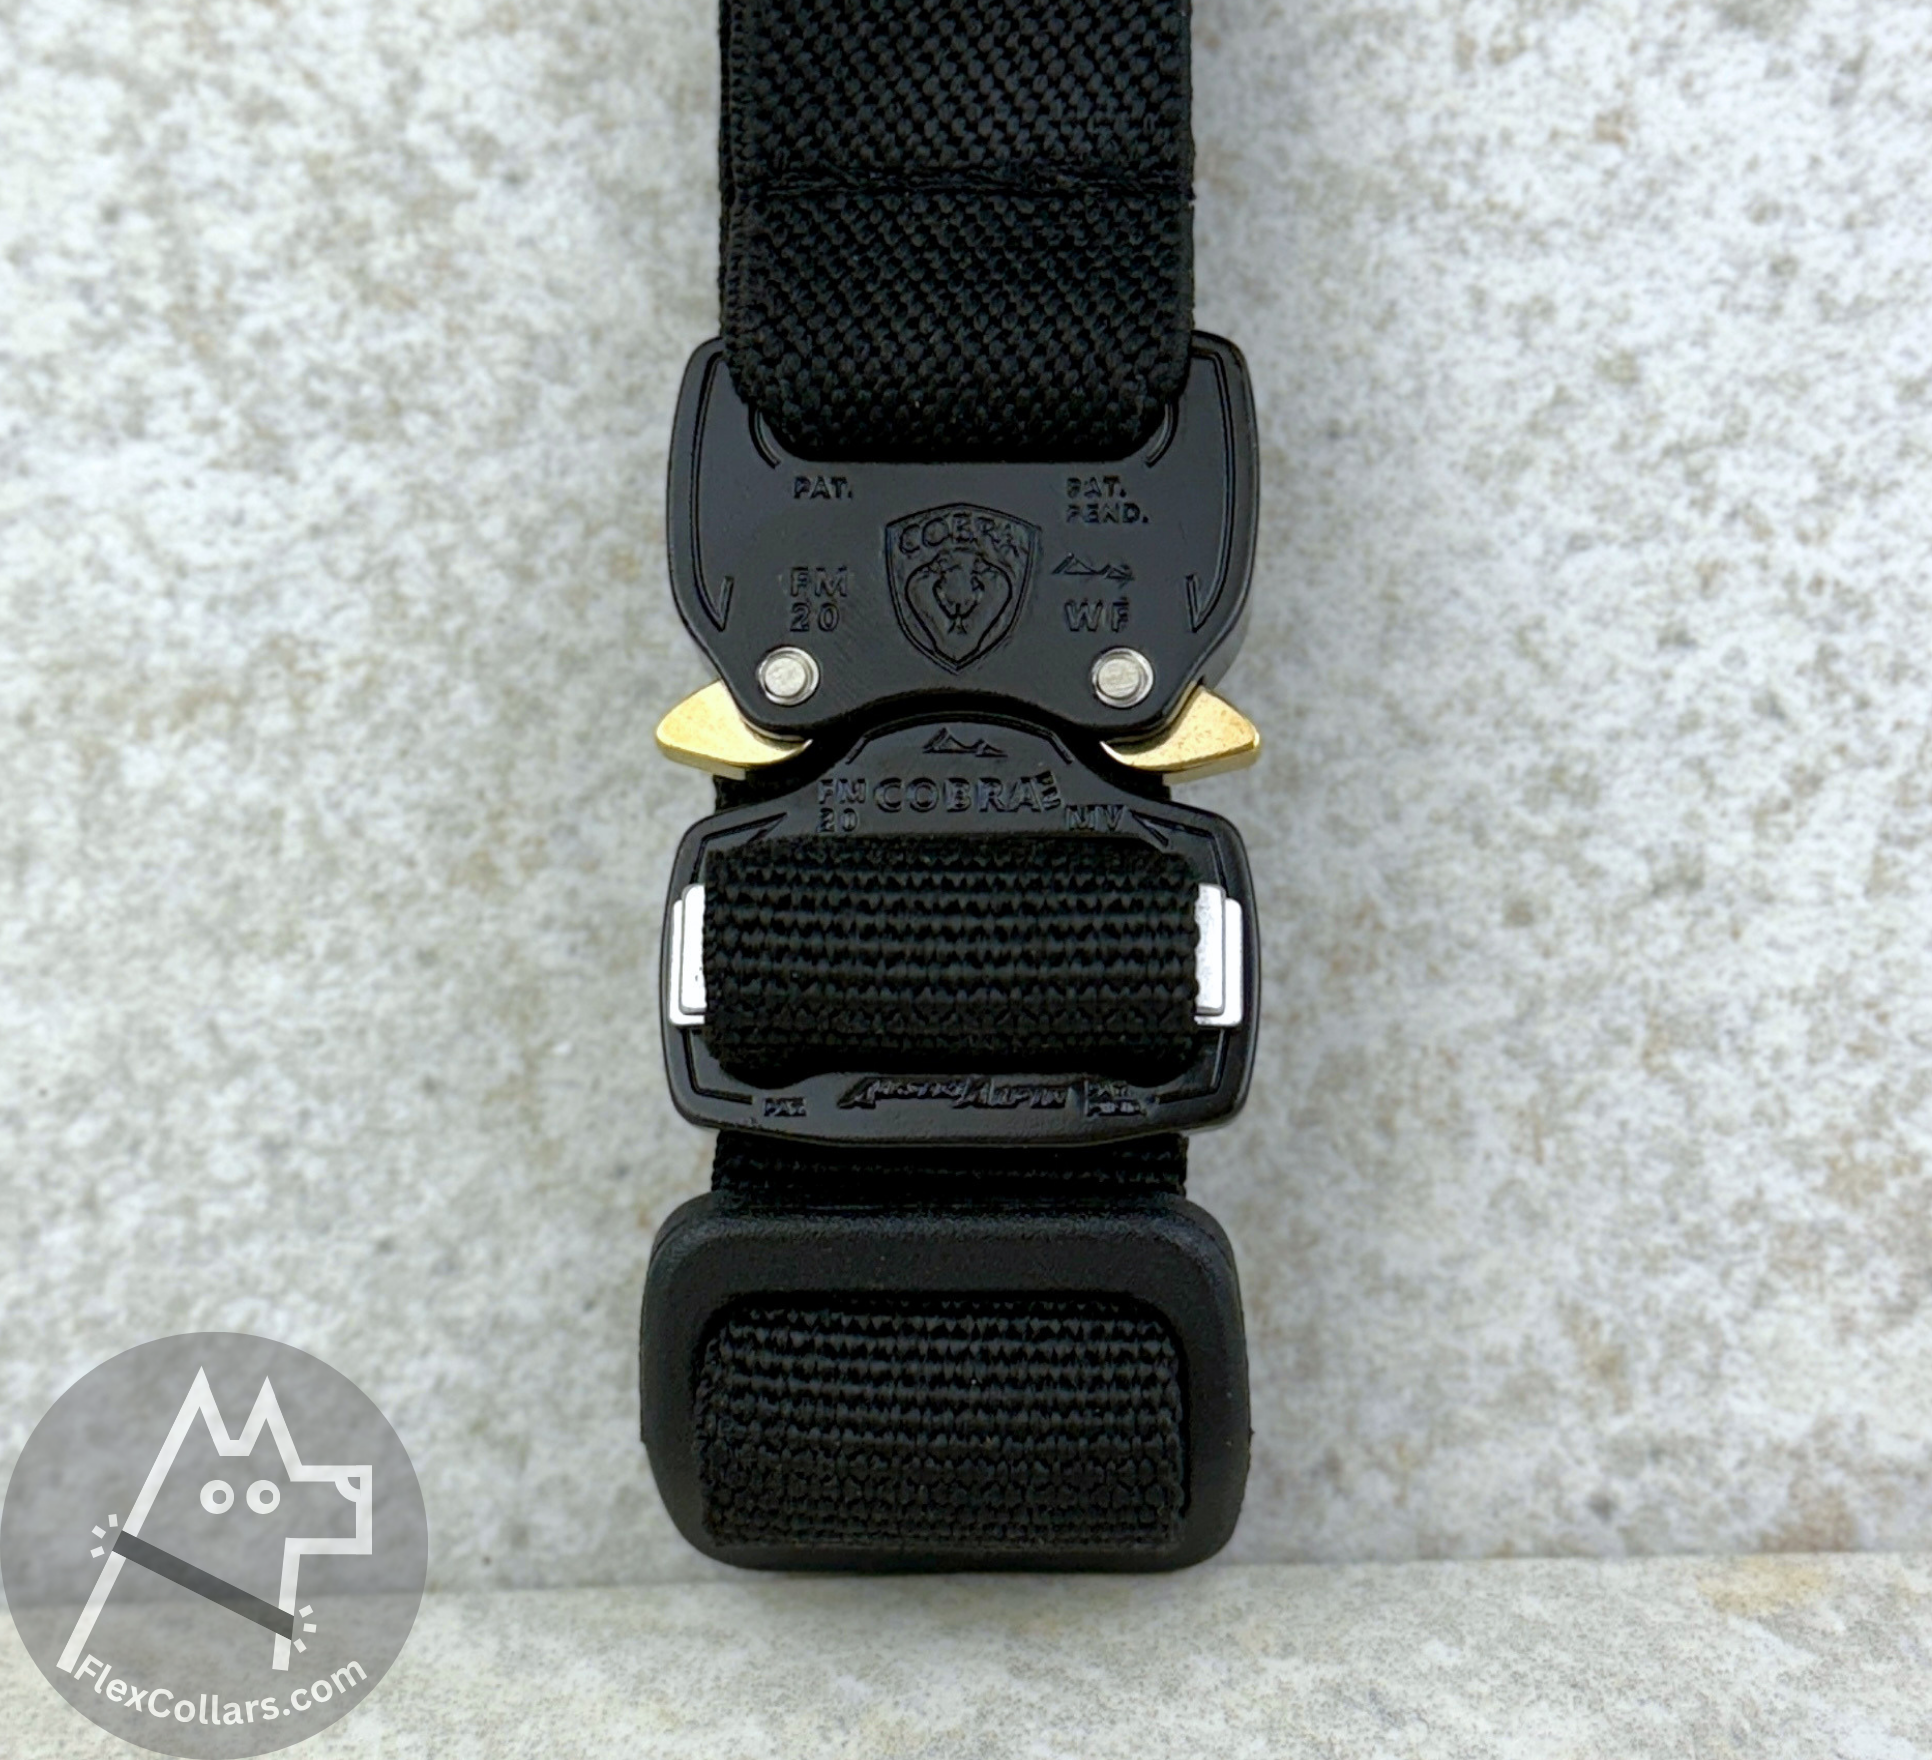
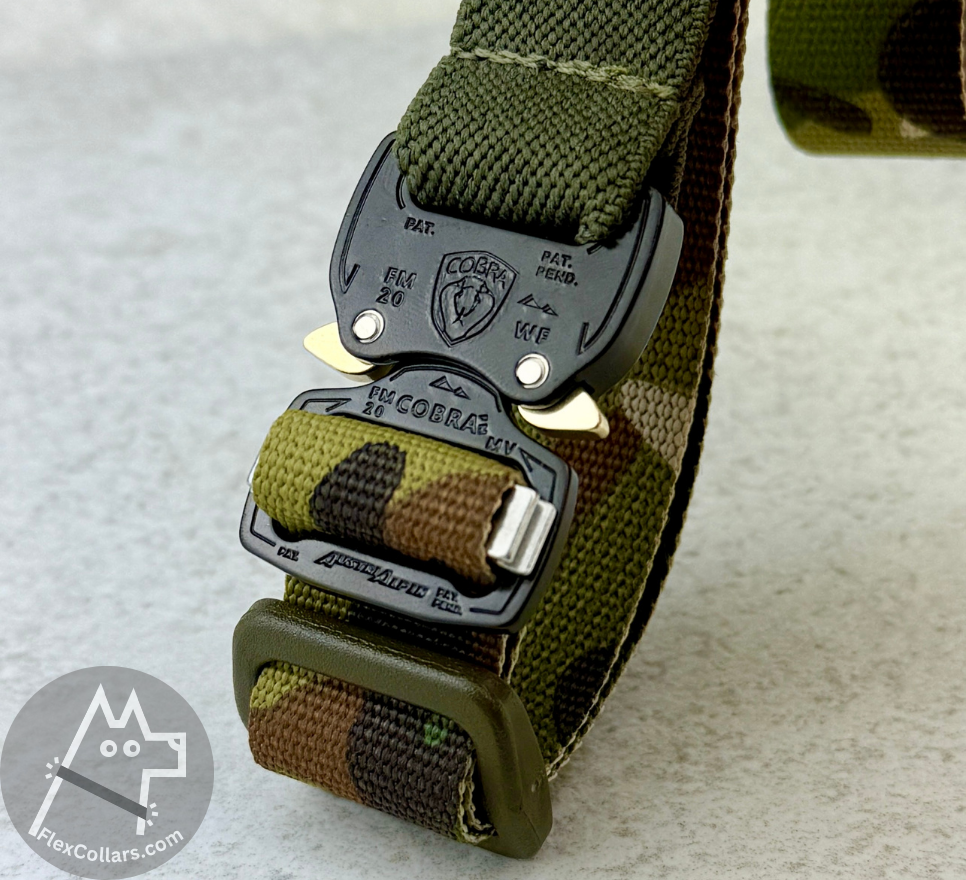
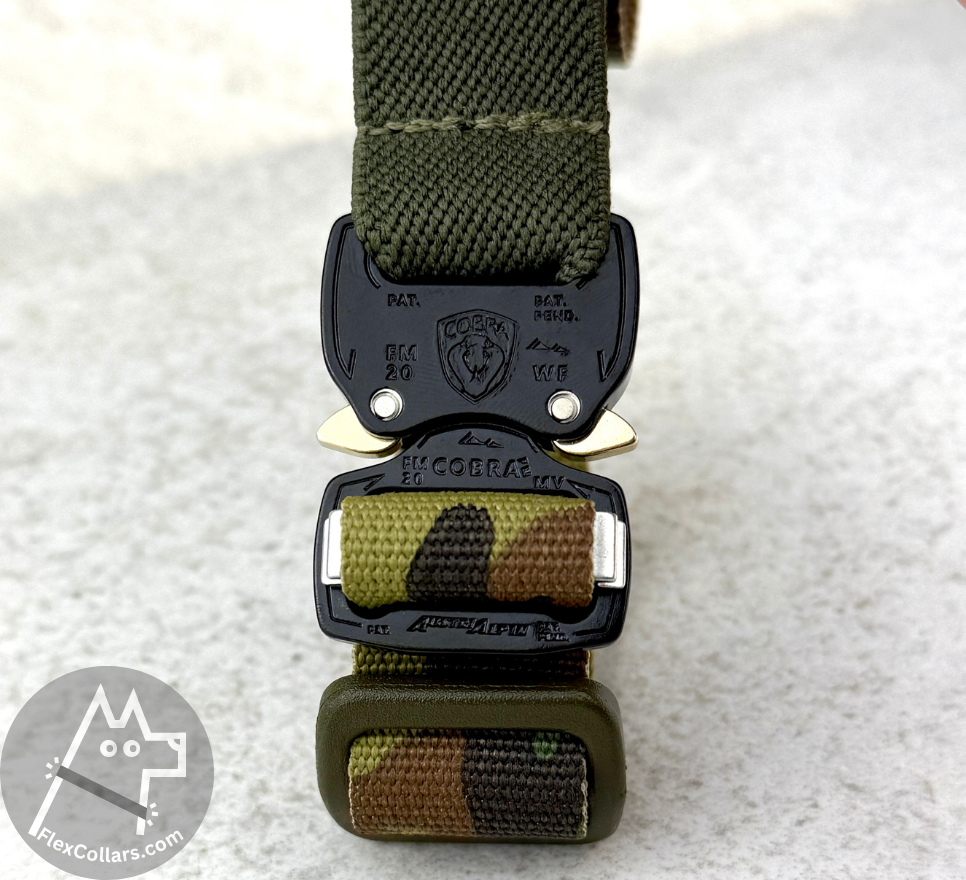
6. Thread the free end of the webbing through the chrome metal part of the buckle. You want to thread it "inside-out".
7. Now the free end of the webbing made the first layer of the collar, with the e-collar unit sitting on it. You can see that the collar now has the shape, and the parts are not moving
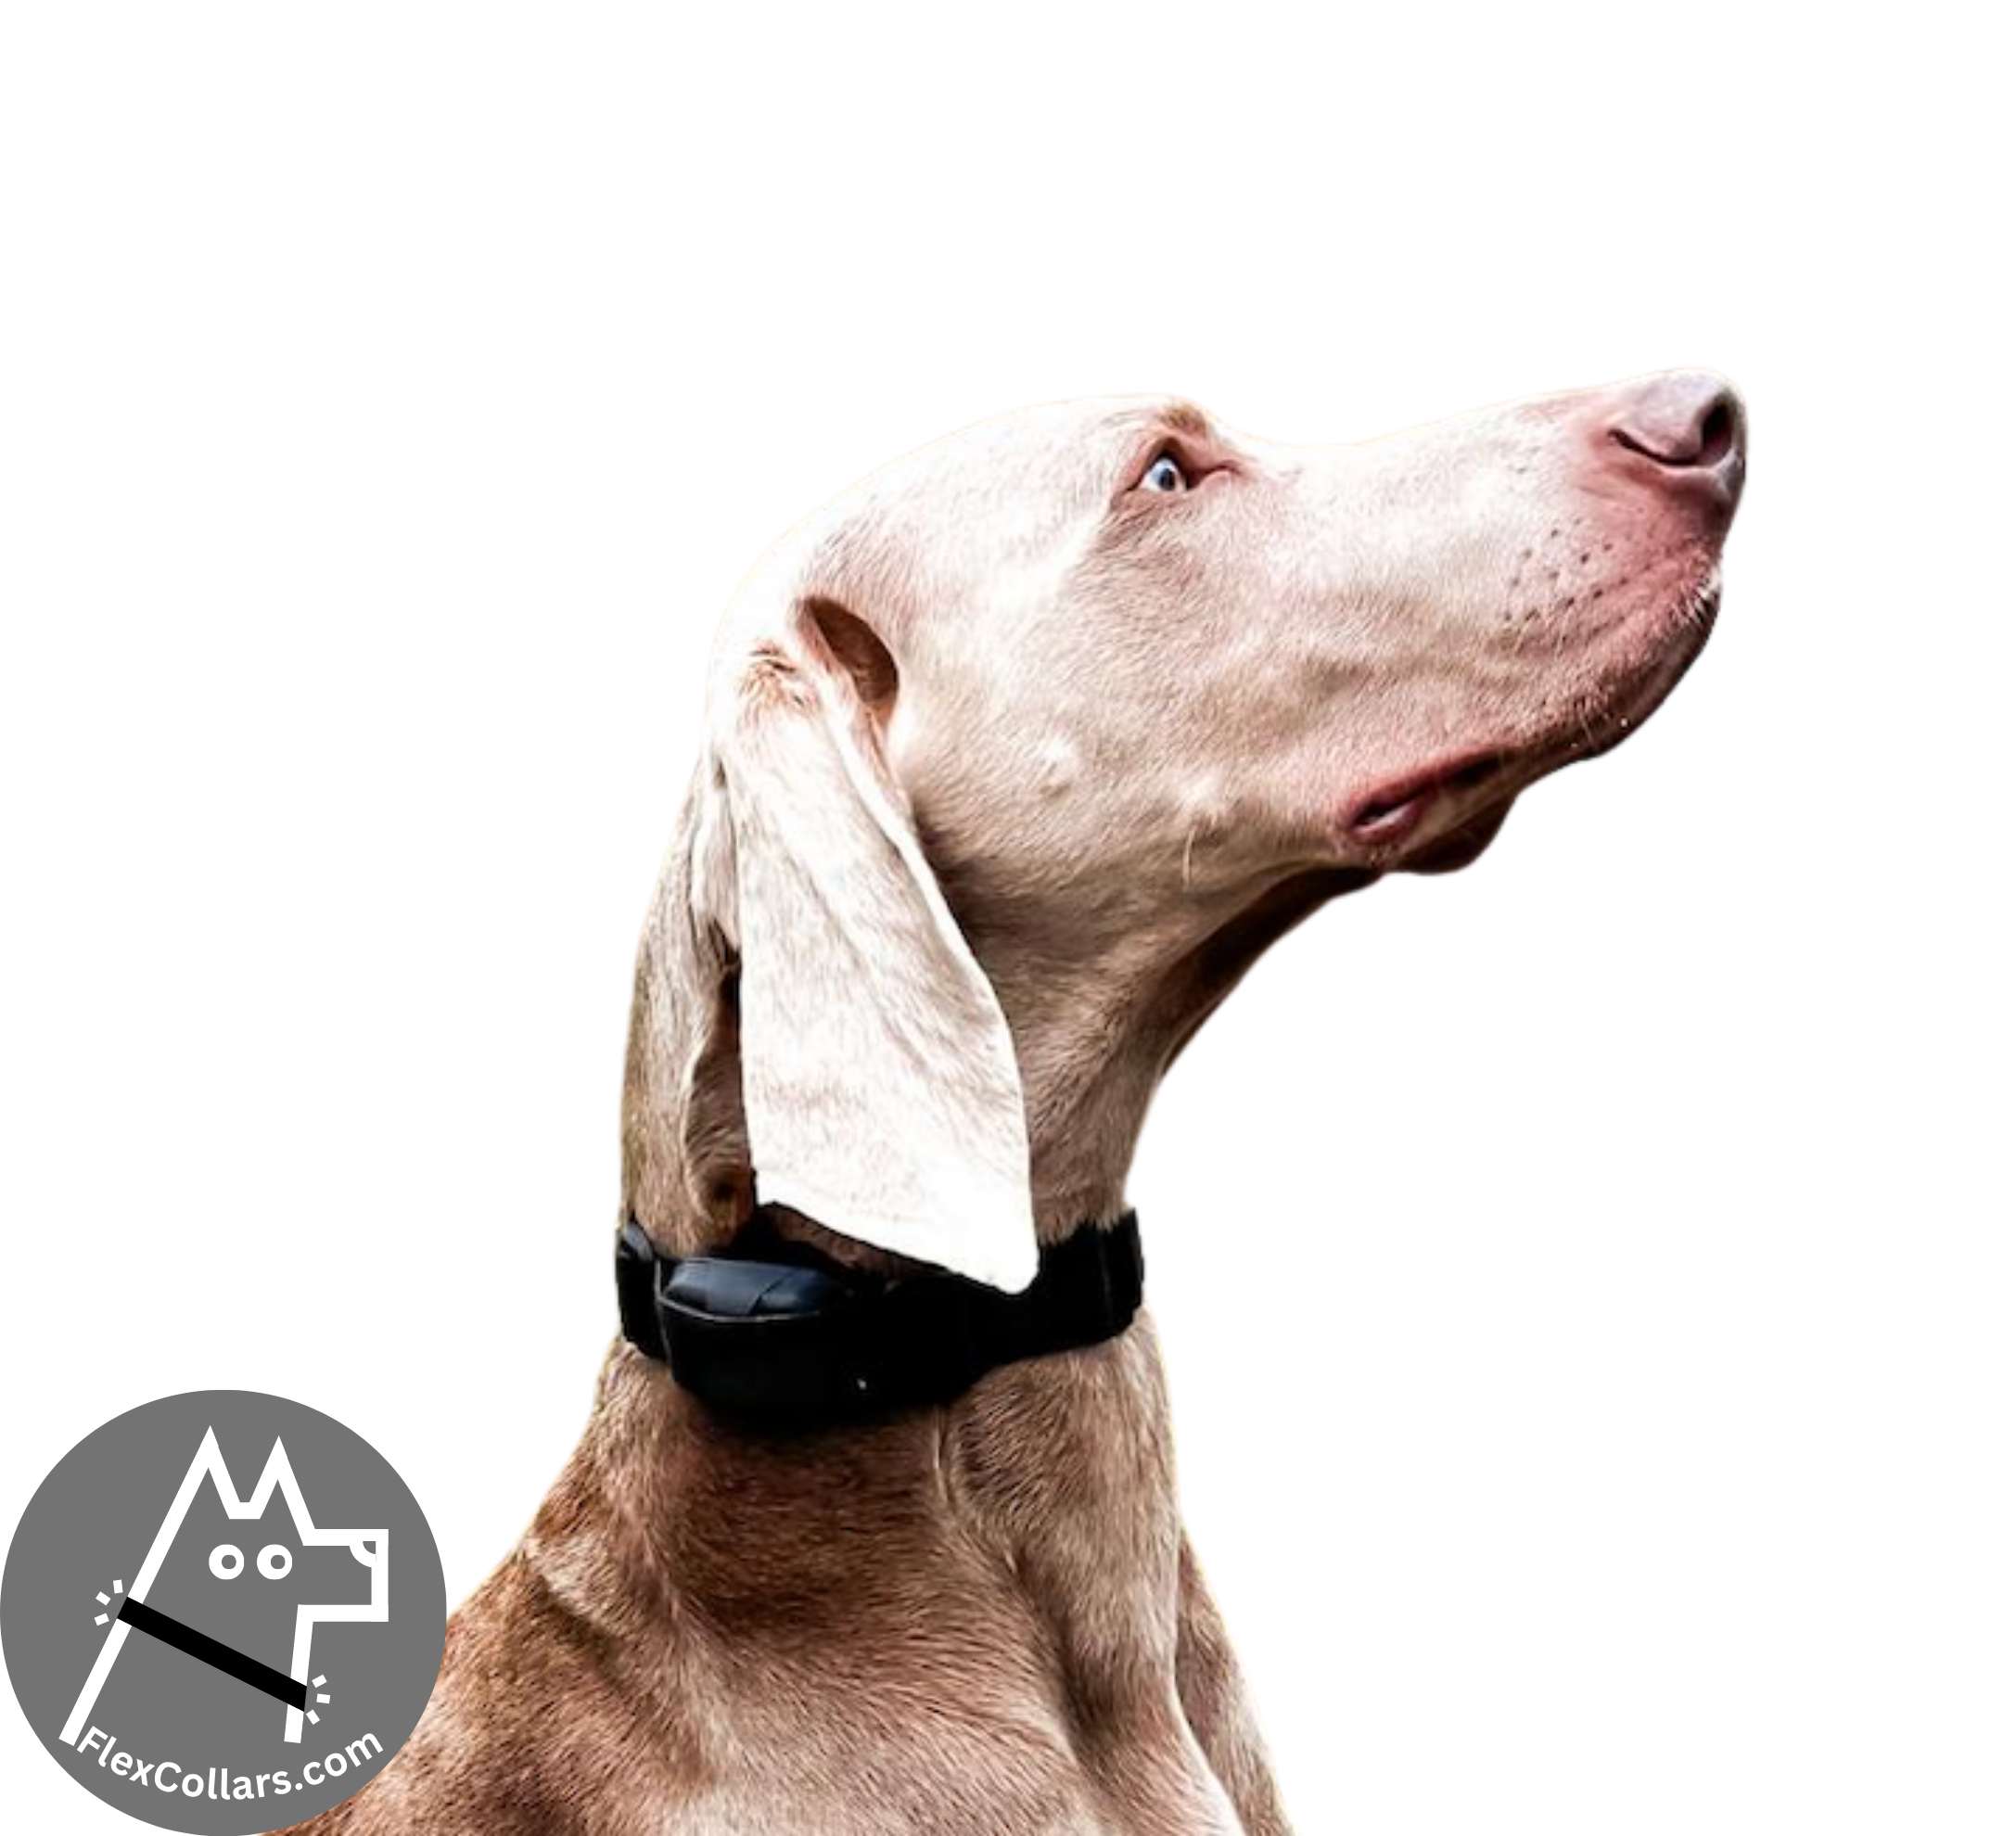
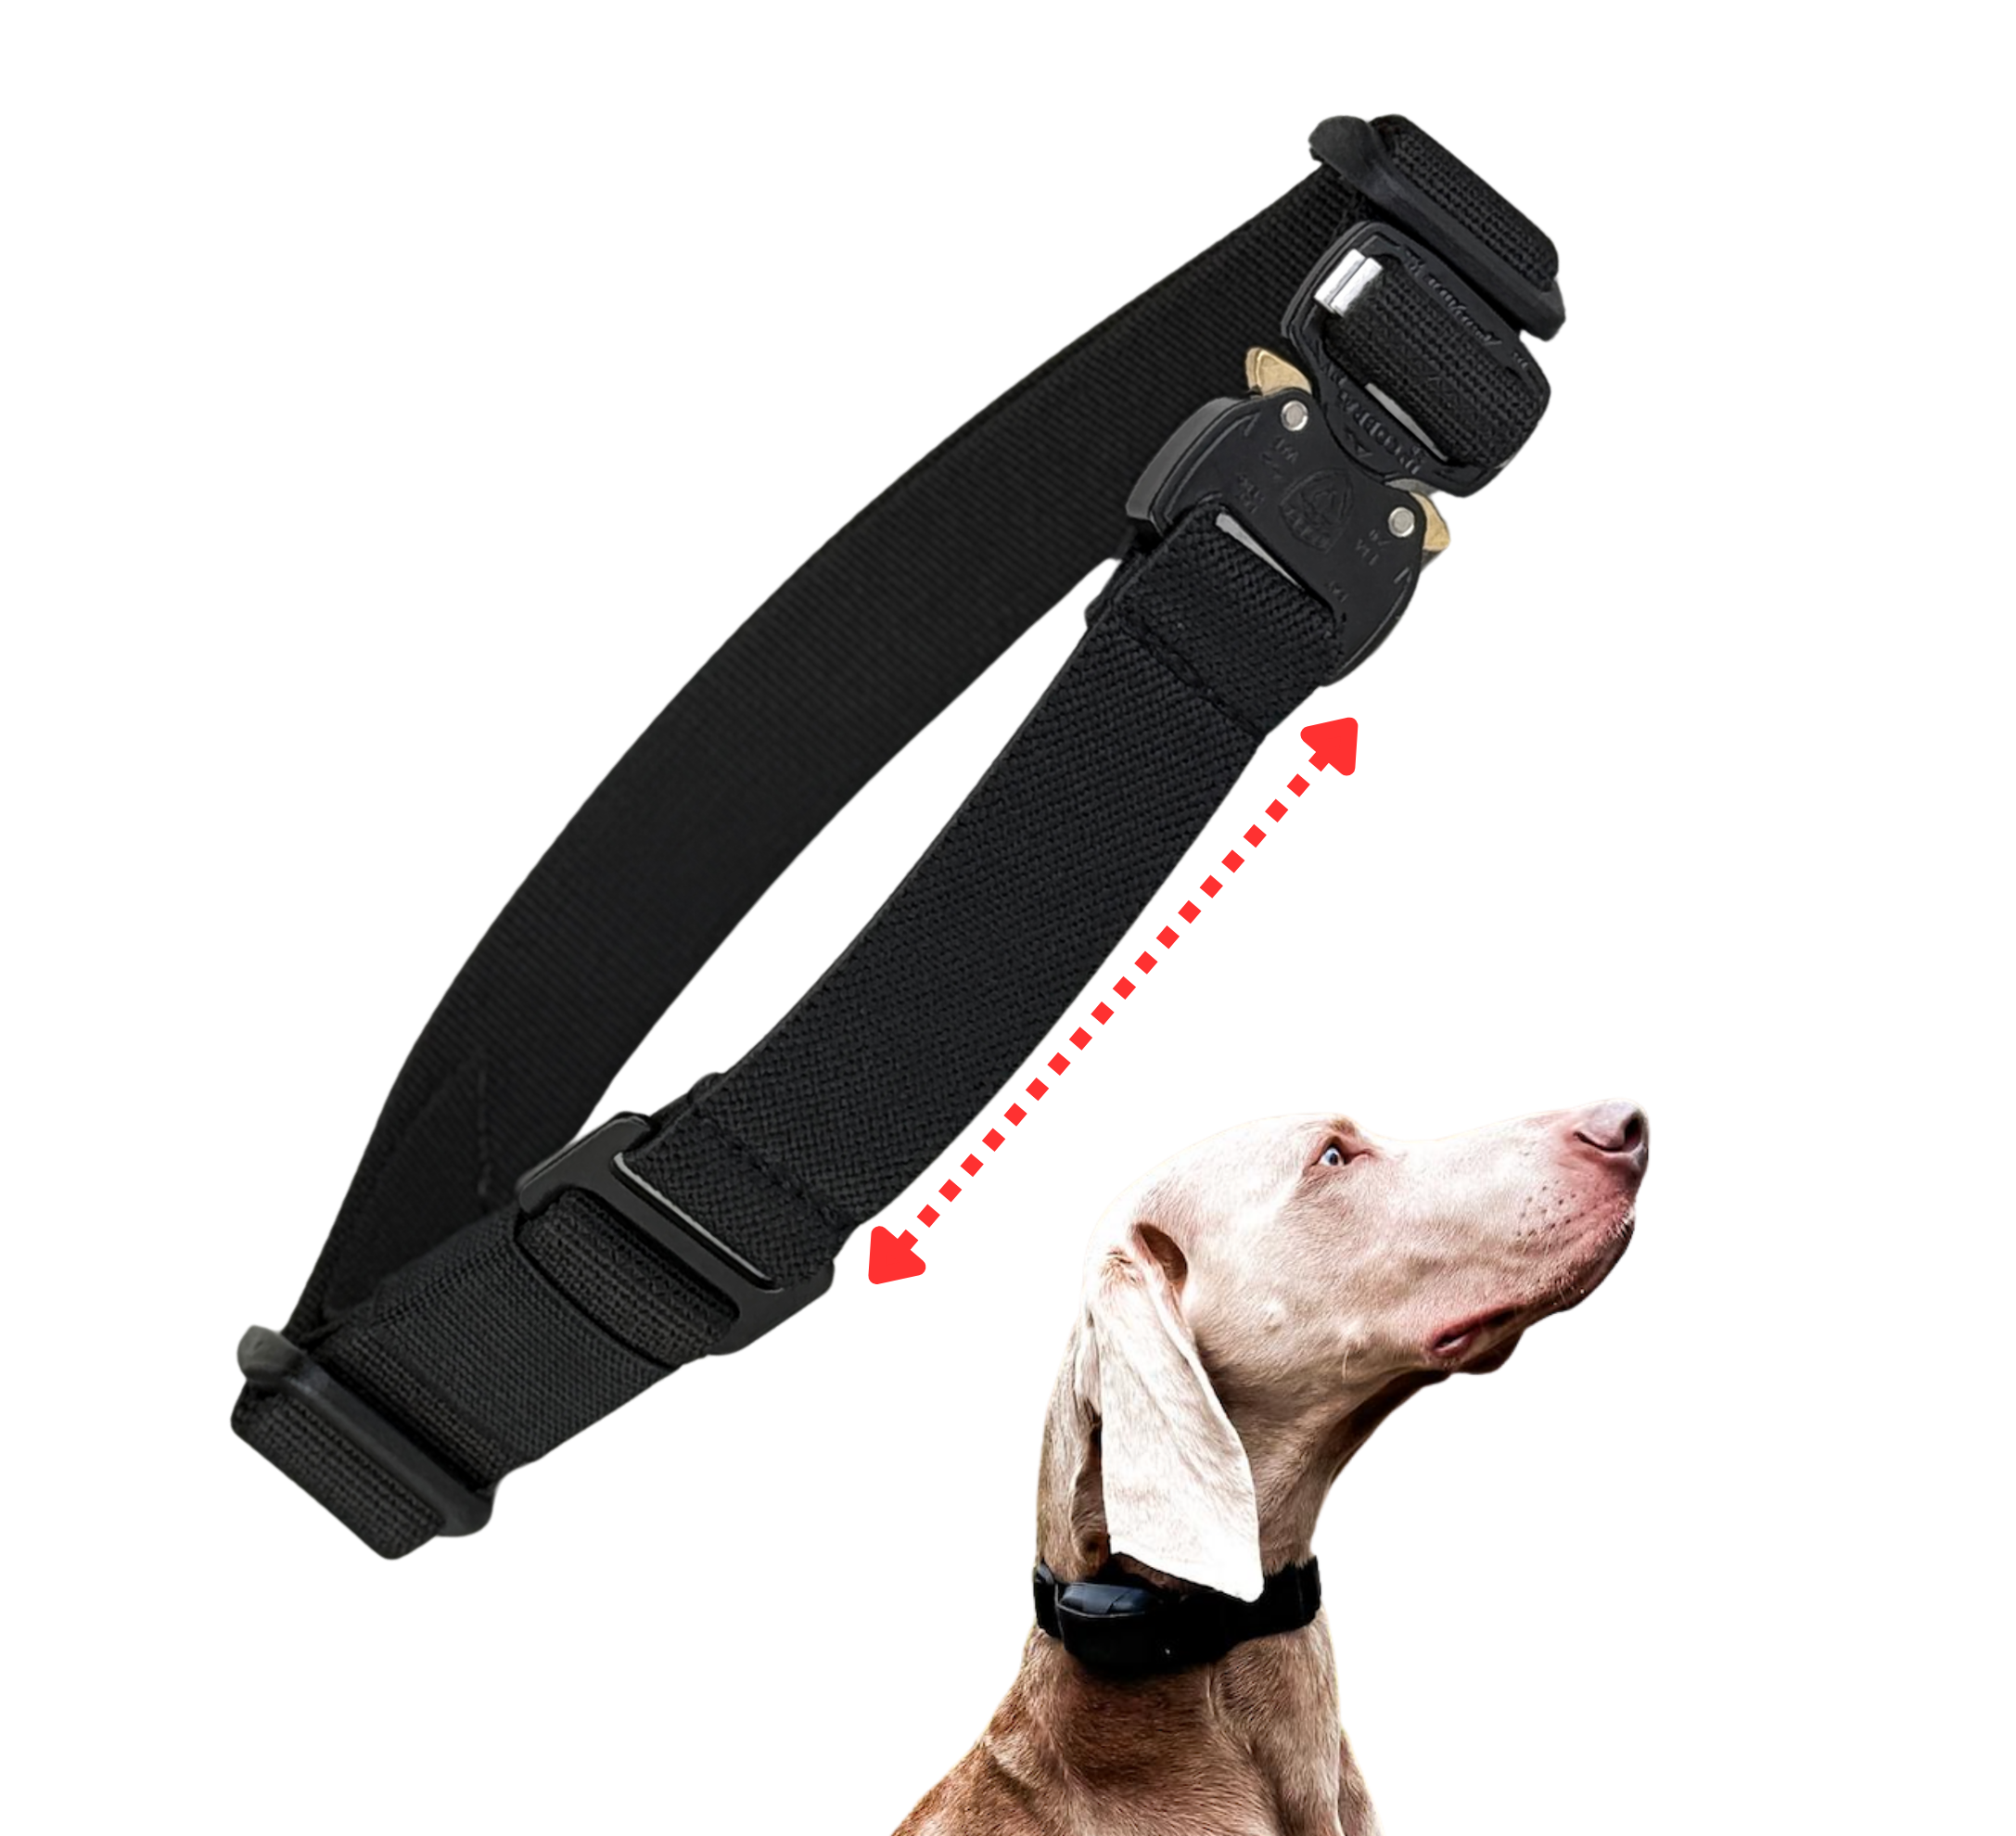
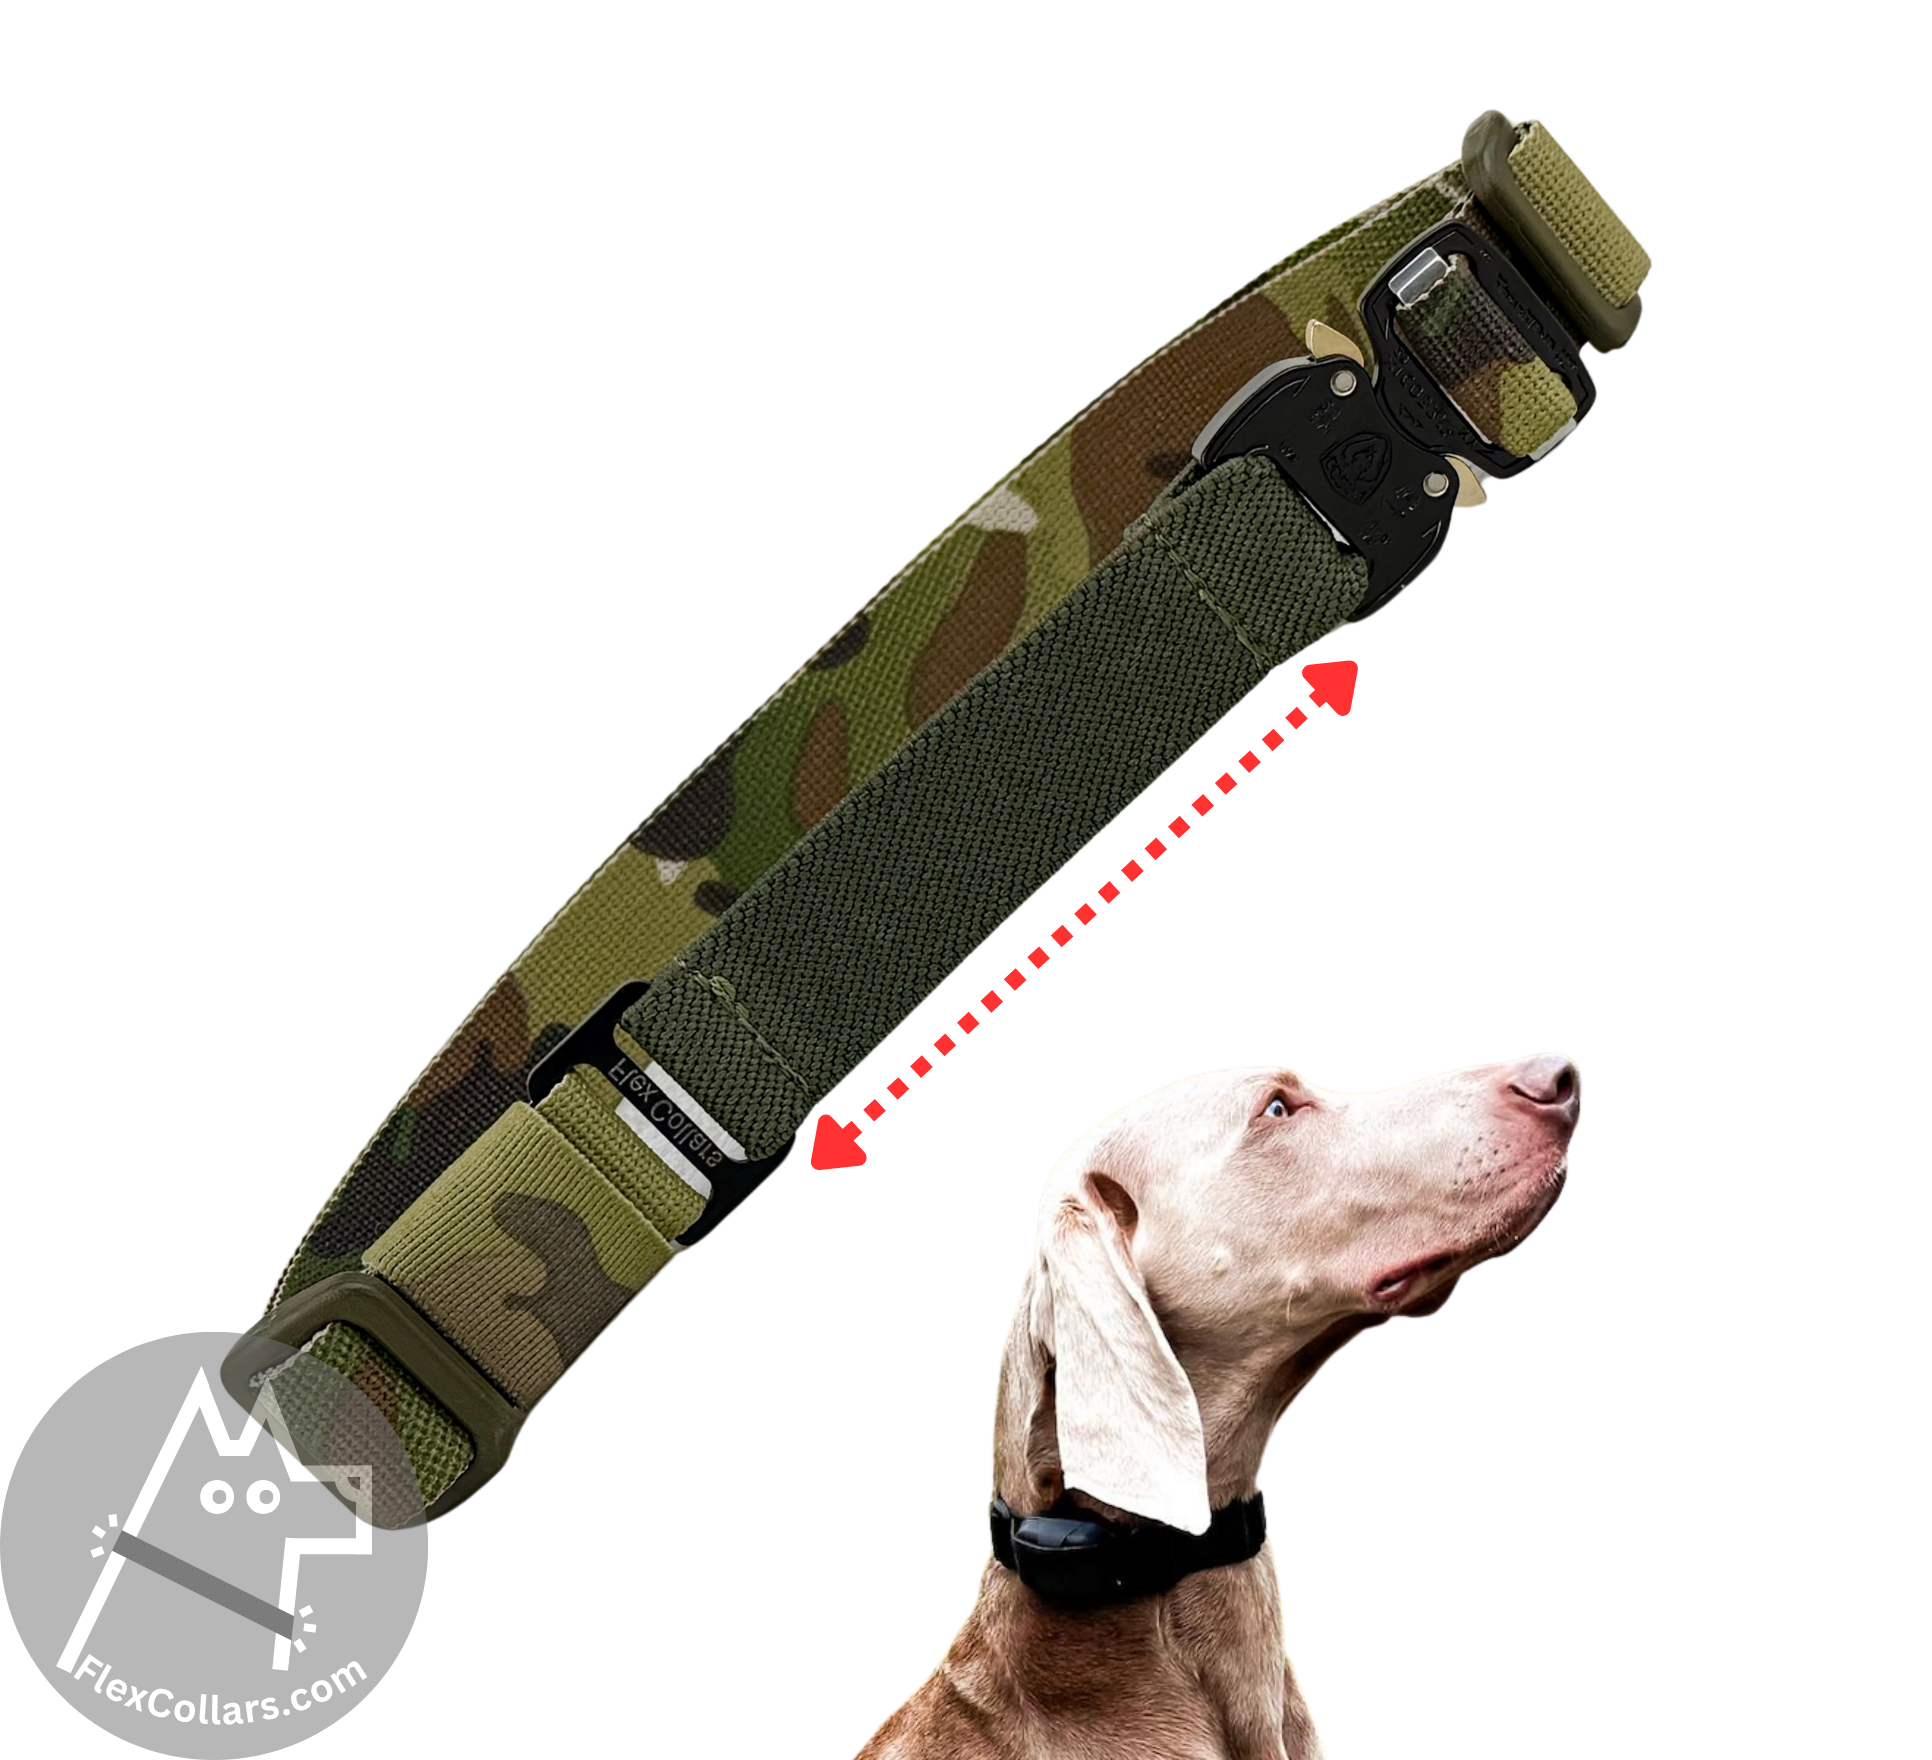
8. IMPORTANT! Call your dog and put the collar on the dog. This is the best time to check that the collar has the right length and sits correctly on the dog's neck:
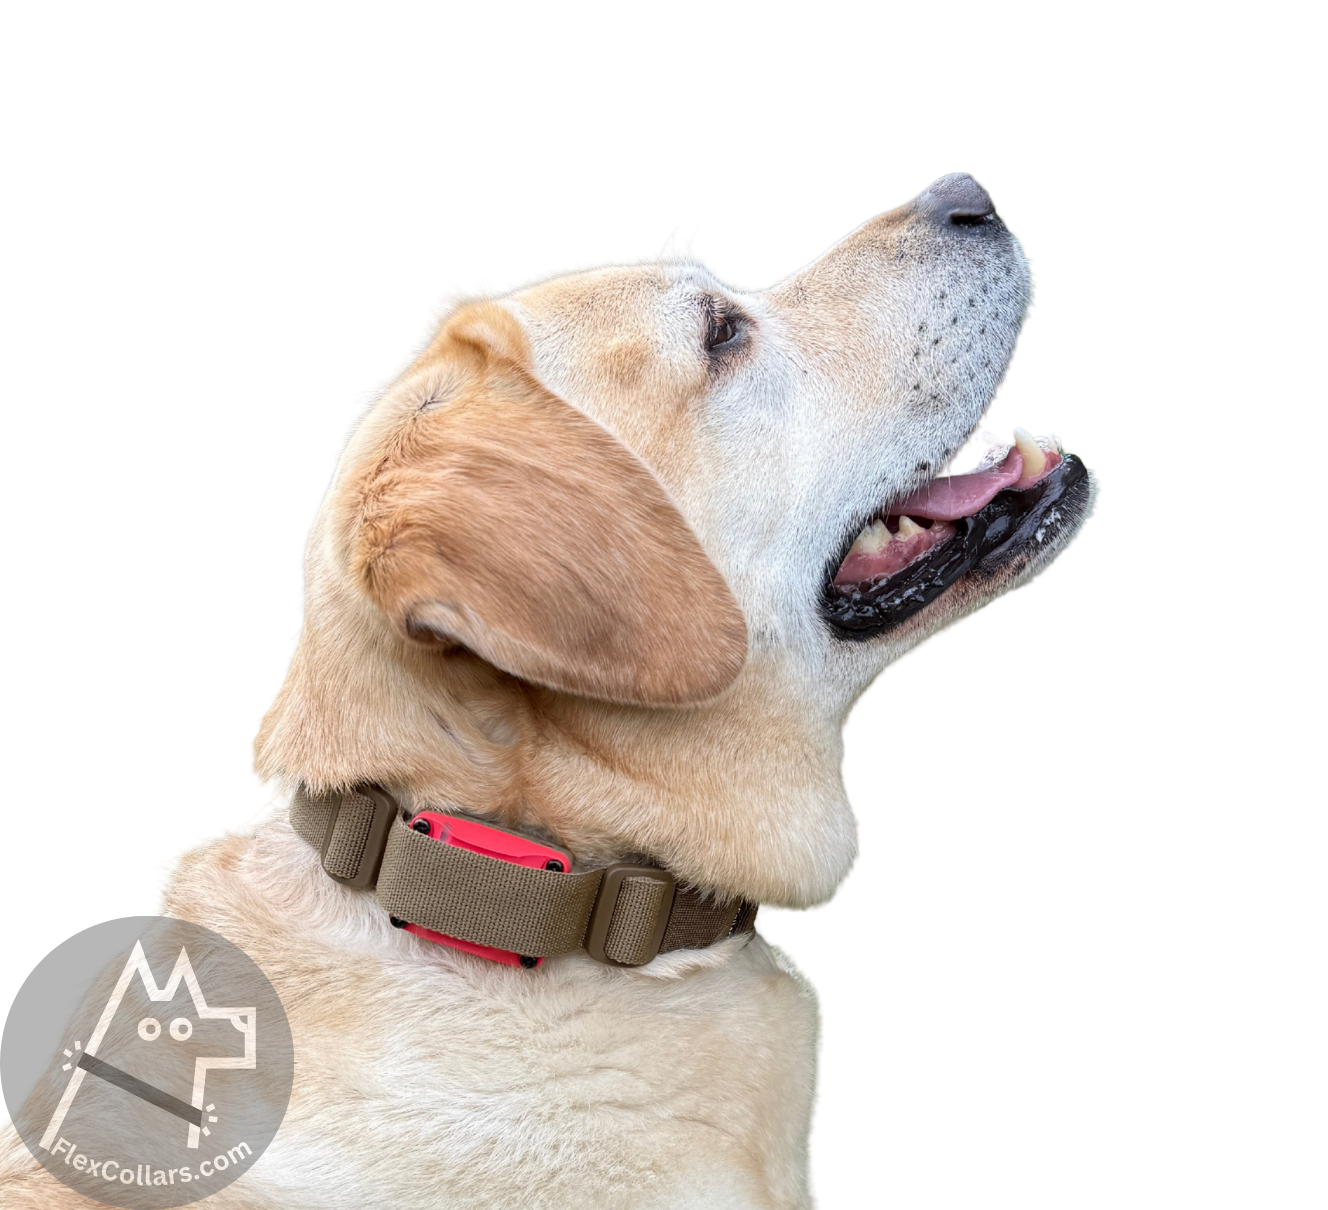
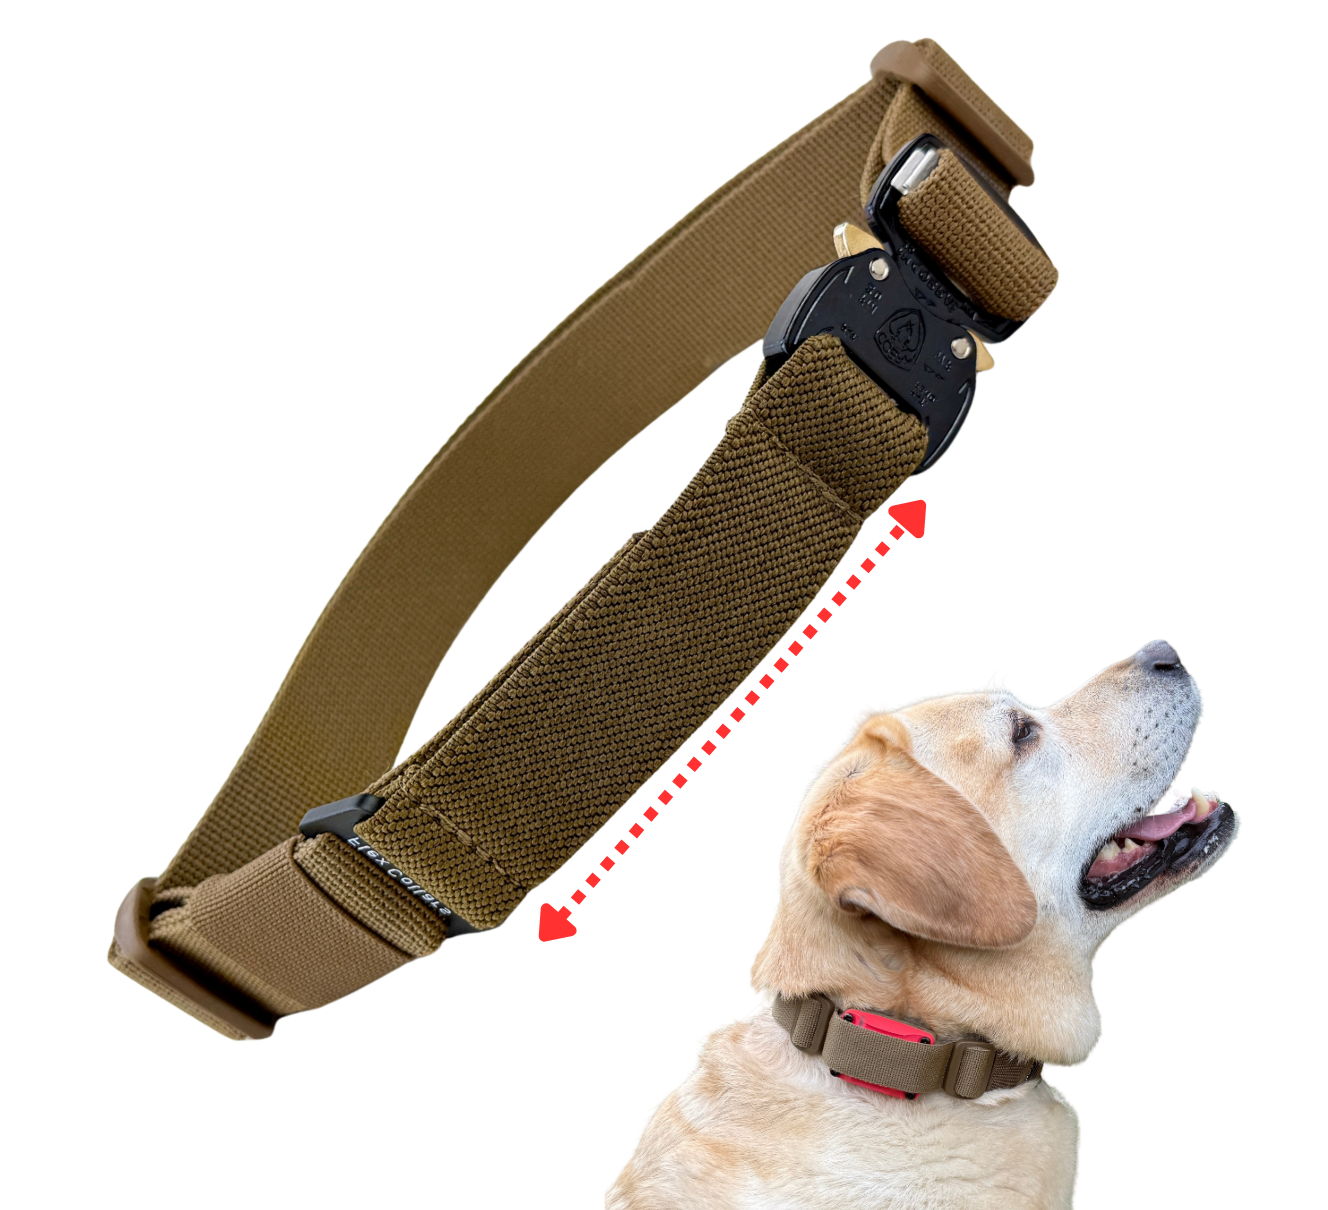
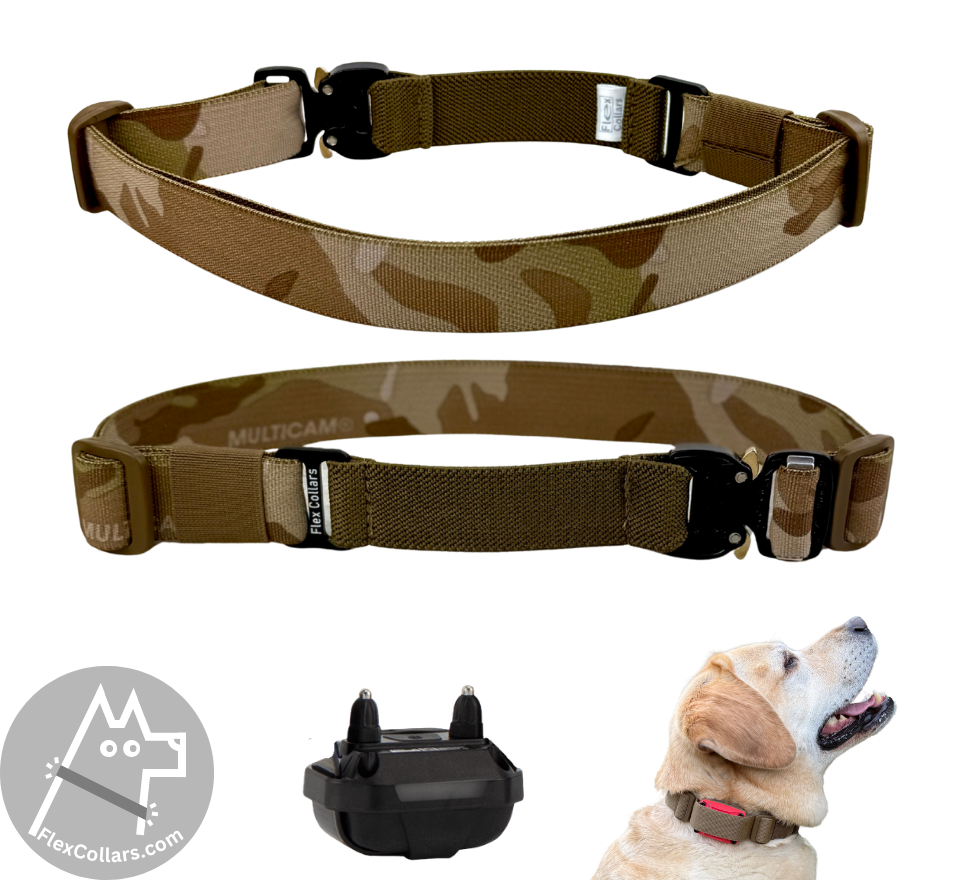
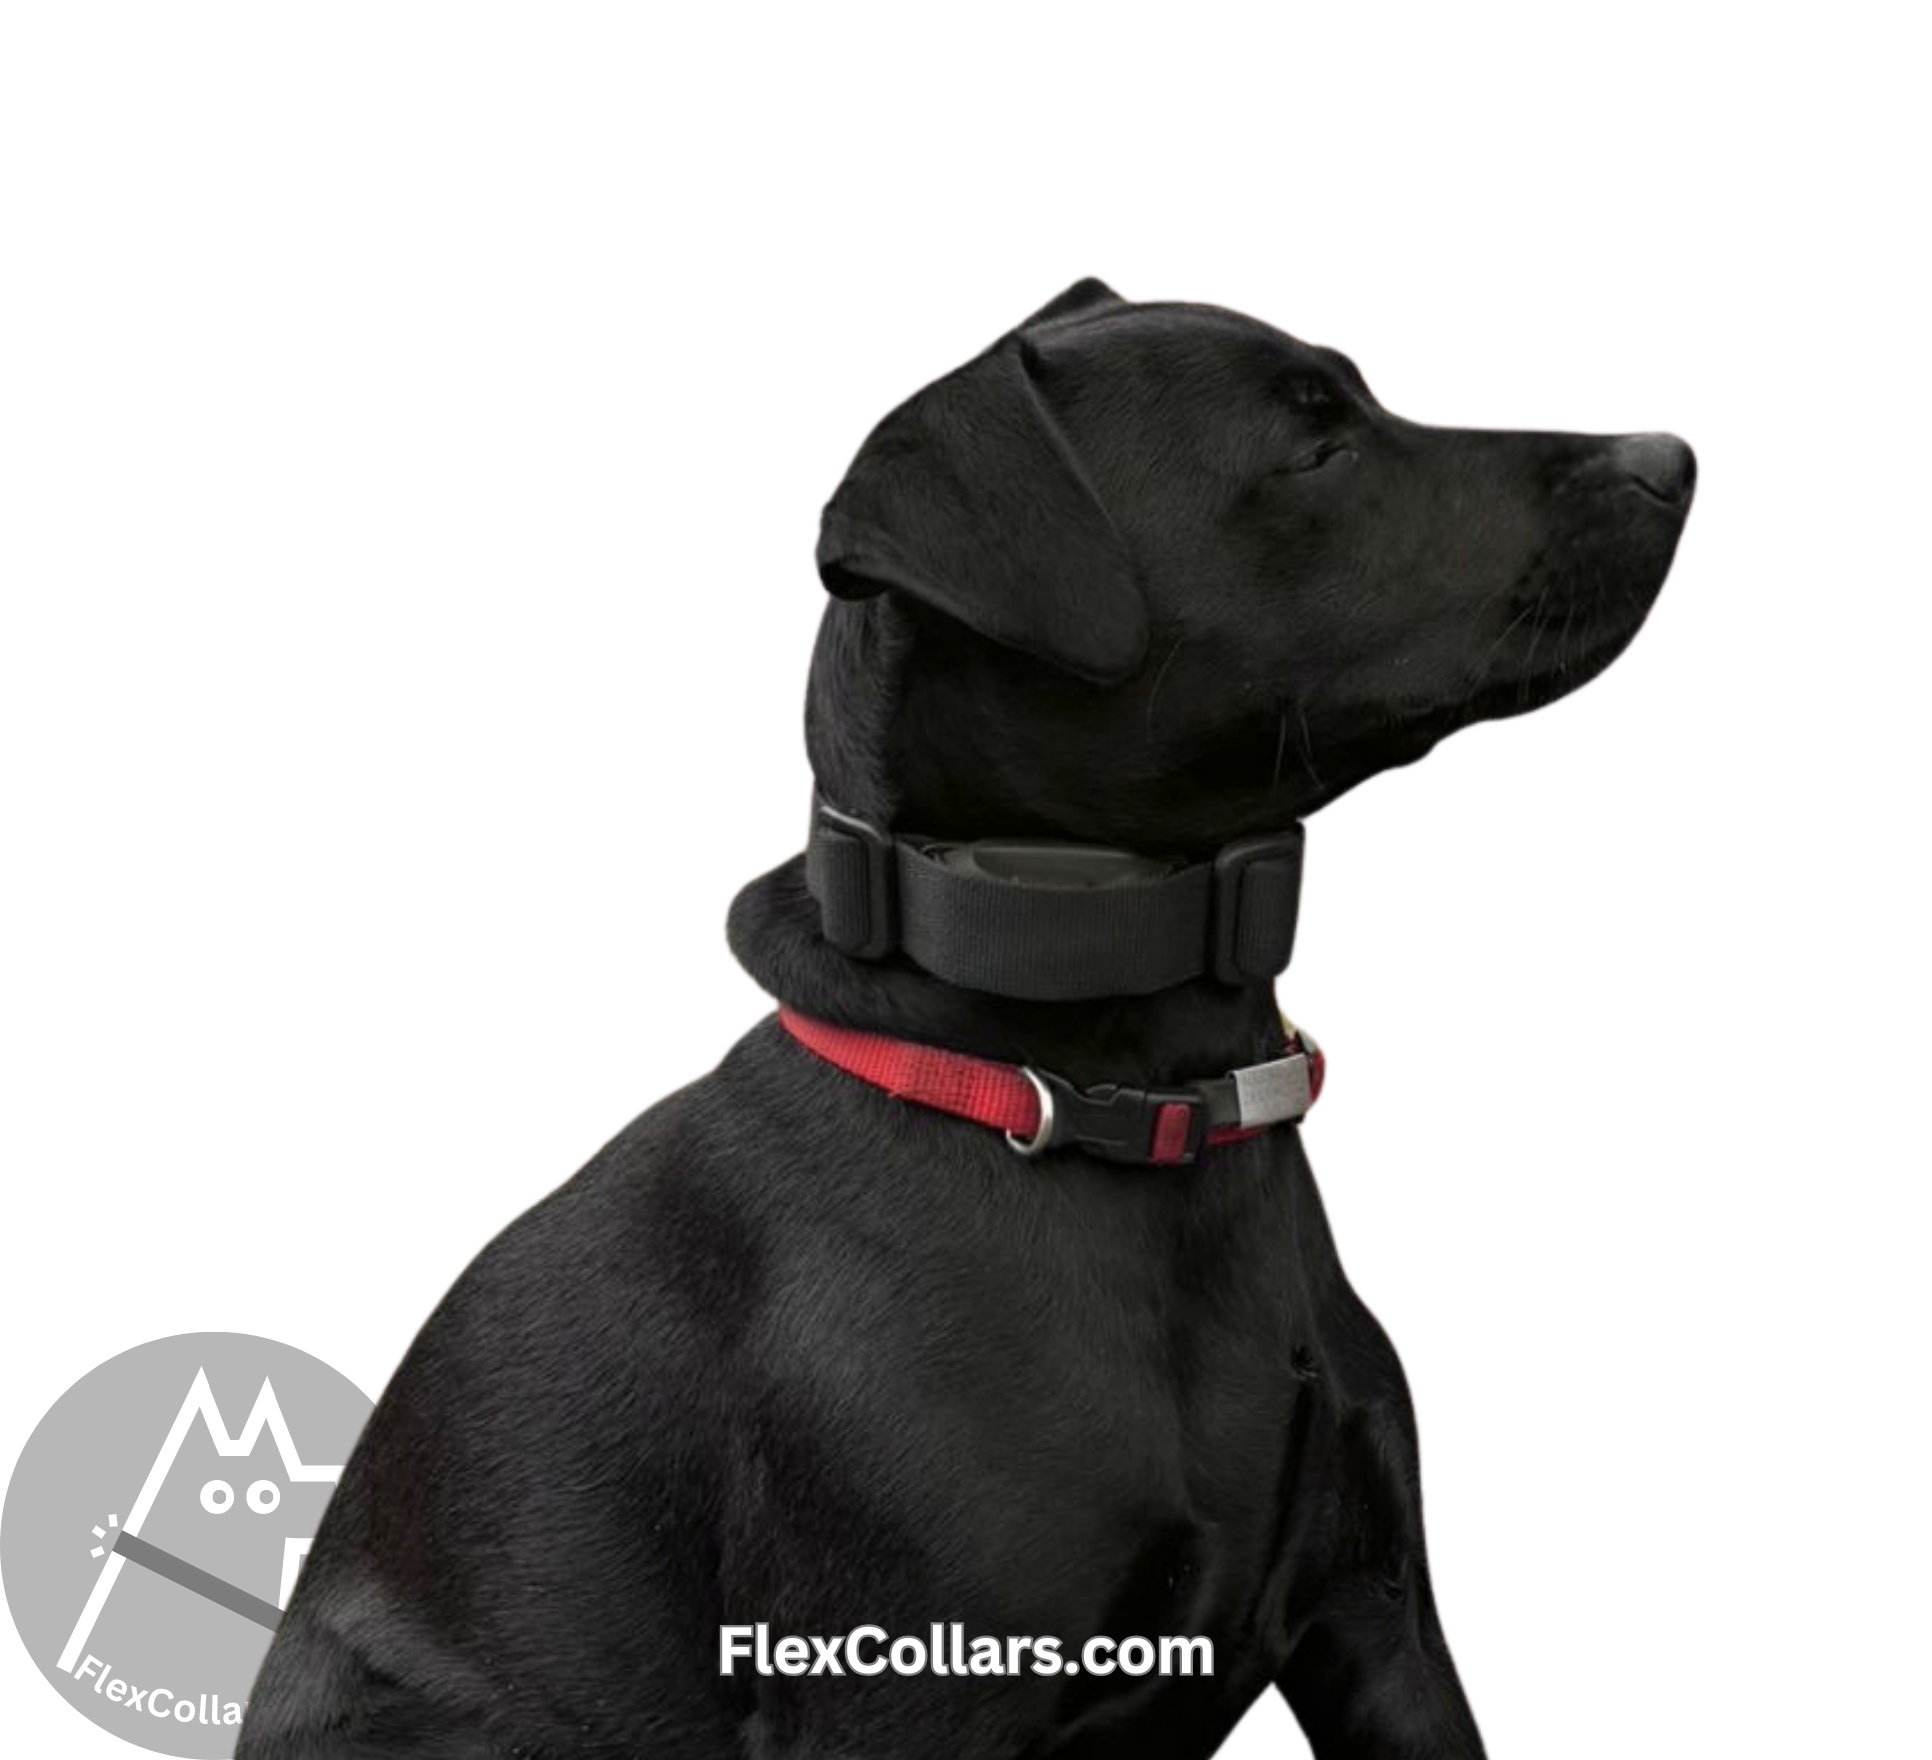
The Elastic should be positioned on the dog's throat (hence the comfort)
The buckle should be on one side of the neck
The unit will be on the other side of the neck (do NOT place the unit on the throat! The E-collar can harm the dog if placed on the throat)
The collar should sit tight But you should be able to slide 2 fingers under the collar
The buckle should be easy to release. If it is not easy to release, then the collar is too tight
It should not be wobbly
The e-collar unit should have good contact with the dog's neck
Elastic is only slightly elongated when you buckle it up
Adjust the collar to be smaller or bigger using the free end of the webbing that is threaded through the chrome part of the AustriAlpin buckle.
Call the dog again, and check that the collar sits as expected.
Second Layer:
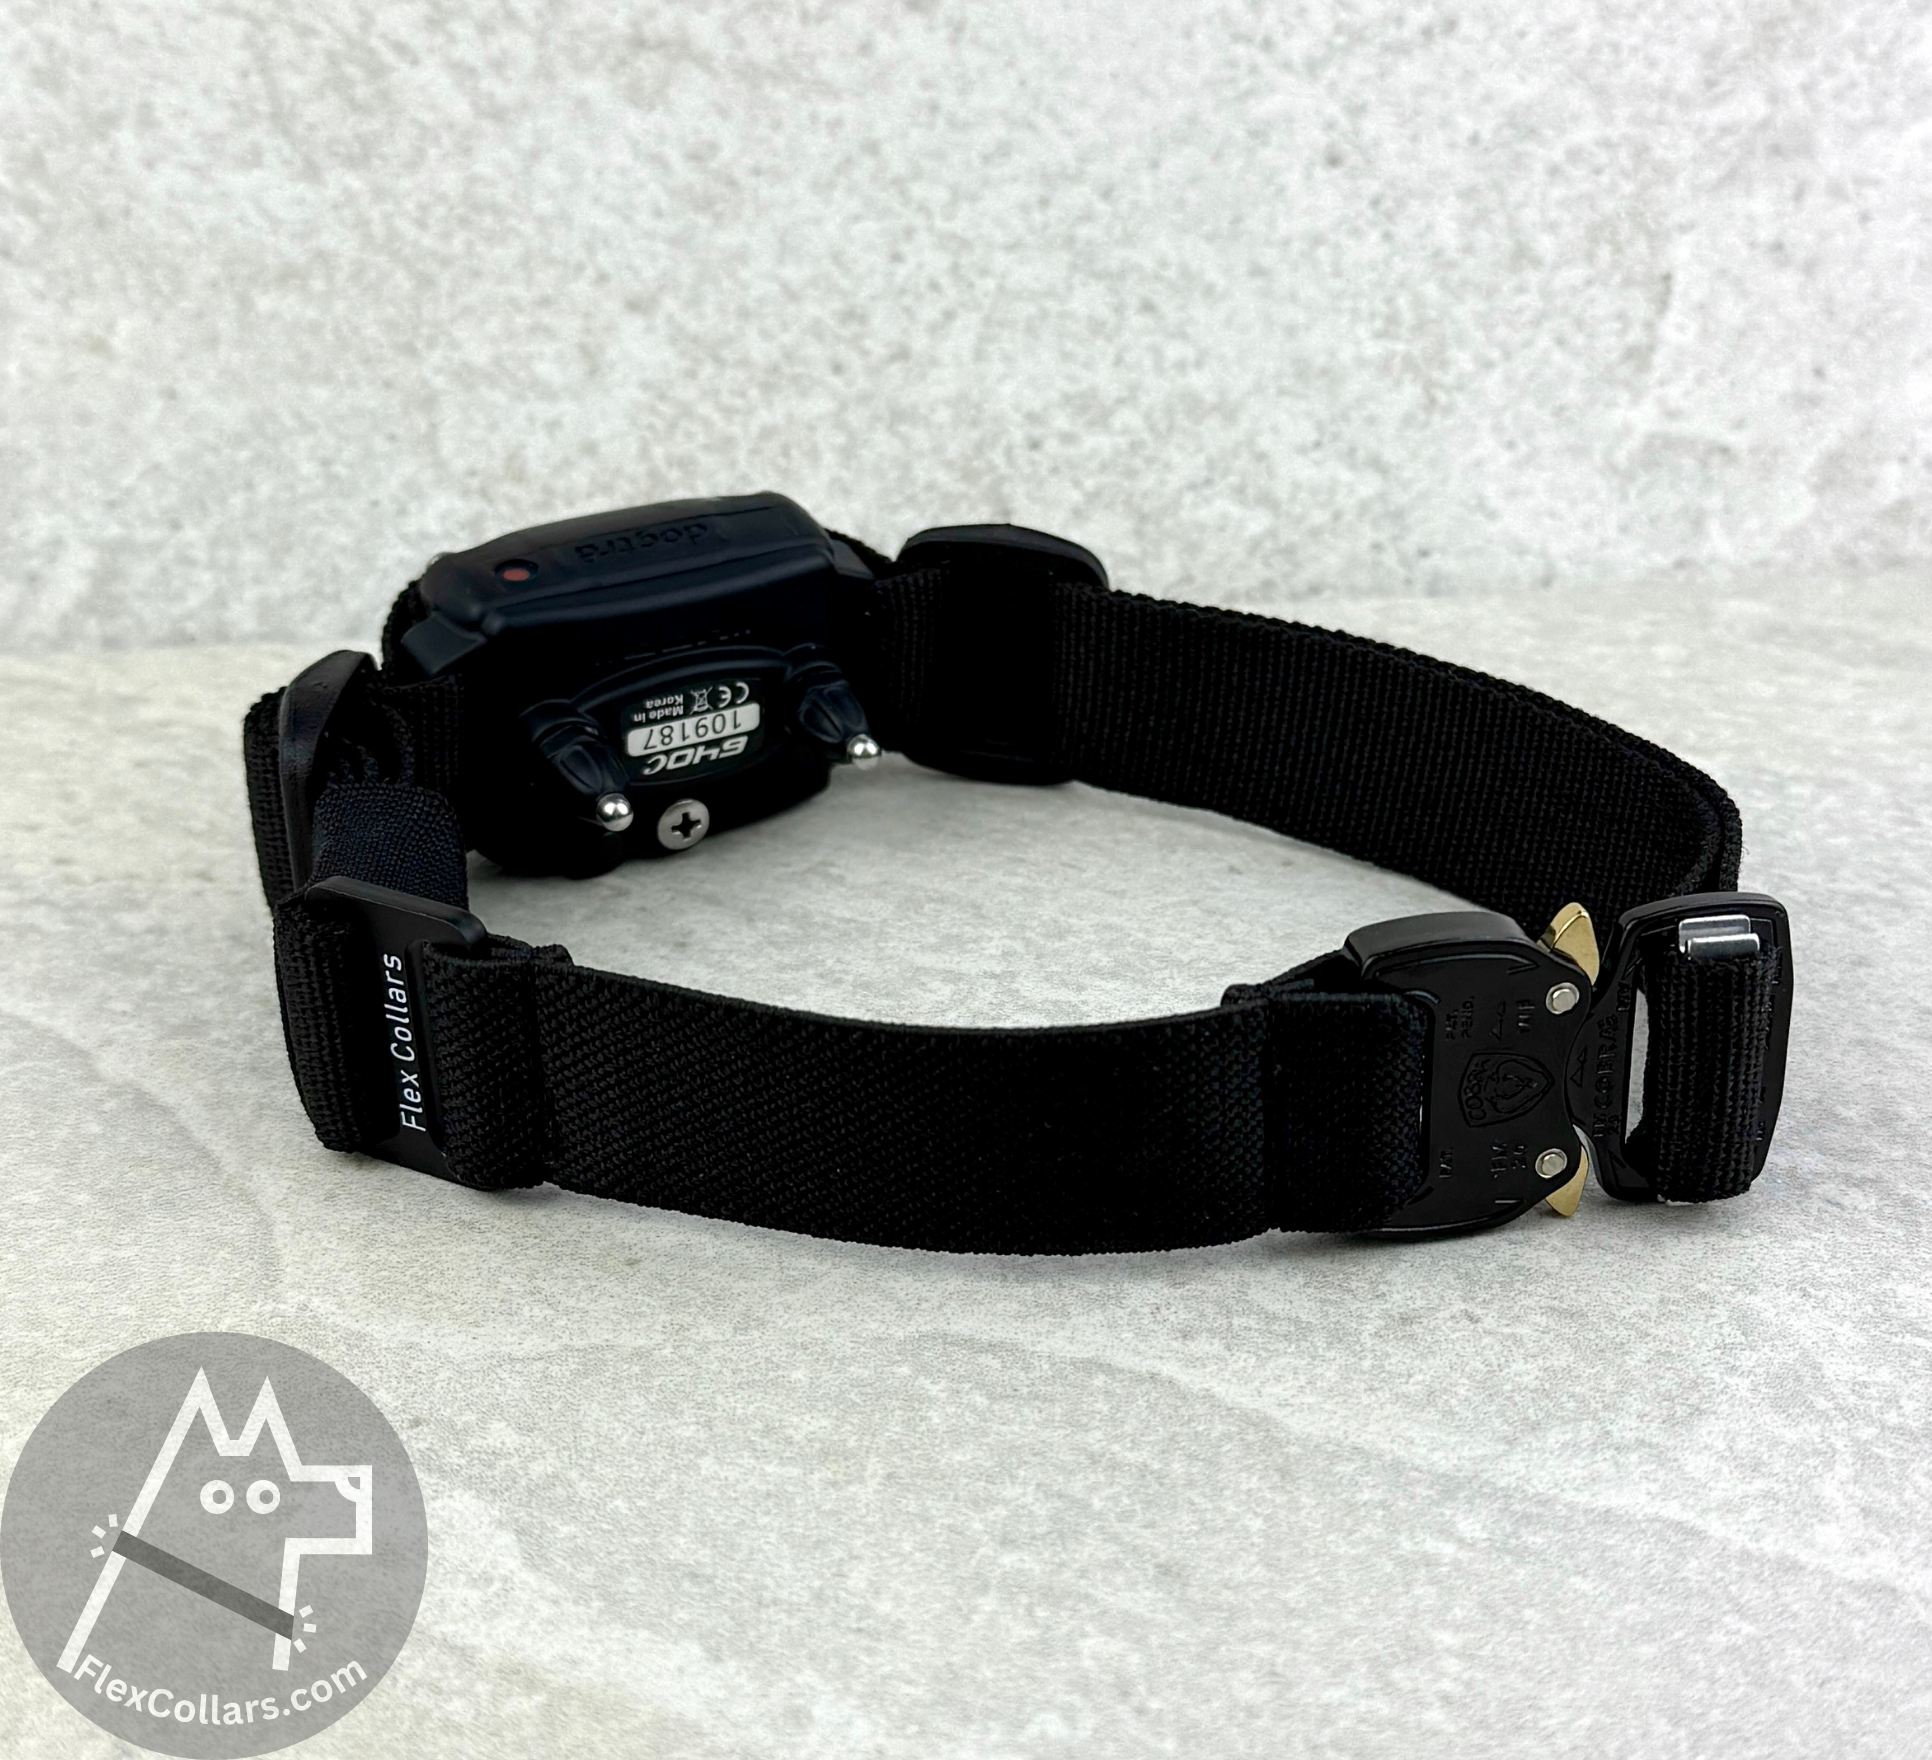
9. Once the above is done, you want to thread the second layer of the webbing on top of the first layer. This will add strength to the collar and prevent it from flipping on the dog's neck.
10. Thread the free end of the webbing through the plastic triglide, over the unit, and then through the second plastic triglide.
11. IMPORTANT! Do the final adjustment. The 2 plastic triglides should be on both sides of the unit. They should be touching the e-collar and form a line. These triglides hold the 2 layers of webbing closely together, and they push the e-collar unit down to the dog's skin, allowing reliable contact and lower signal levels.
12. Once this is done, call your dog for the final check that the overall length of the collar is comfortable for the dog (see step 8 above)
Congratulations! You just assembled the most reliable e-collar strap. We hope your dog enjoys the collar!